How to create a product (Services)
Please follow the steps below to create an individual product on TREX!
Look out for the highlighted fields as special inputs are required for Service SKUs.
- In TREX, go to Products ➡️ Add New Products

- Add a Product

Step 1: Generic Attributes
- Category: Please select Beauty > Others Beauty > Beauty Services
- Brand: You may type in the Brand of the product.
- Frontend Product Name (EN), [ZH]: Product (Service) Name in English. This will be shown to customers on iShopChangi.
- Description (EN), [ZH]:
– Provide a summary of the Service. Please highlight the benefits/ features.
– State the venue(s) where the Service can be redeemed
– Include the duration of the Service provided.
E.g., 90 Mins
– Include Non-refundable and Non-Exchangeable clause.
E.g., No cancellation of order after purchase is made.
– State clearly how order will be fulfilled.
E.g., “Upon purchase, you will be contacted via email to confirm the date of your appointment within 3 working days.“, “Please show your confirmation email / bring physical voucher on the day of your appointment.“ - Description Image (EN), [ZH]: Insert a lifestyle image of the product. Dimensions: 1280 pixels by 852 pixels. It will appear on the right of the Product Description on iShopChangi.
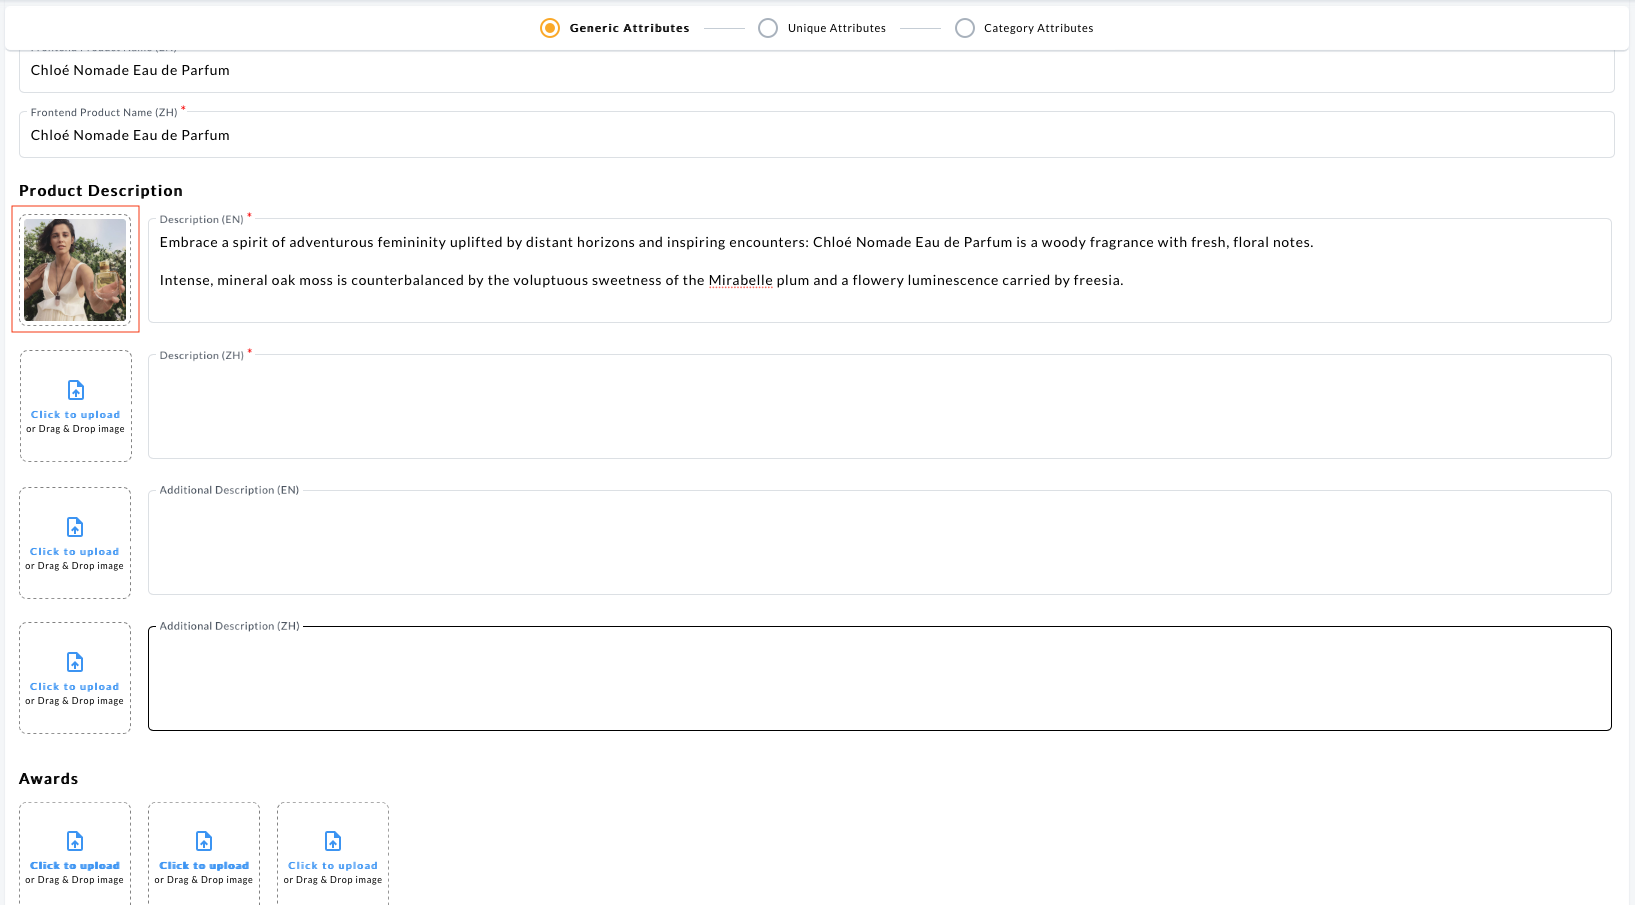
- Additional Description (EN), [ZH]: Please provide an Additional Description Image in the Additional Description Image field to utilise this field❗550 characters max.
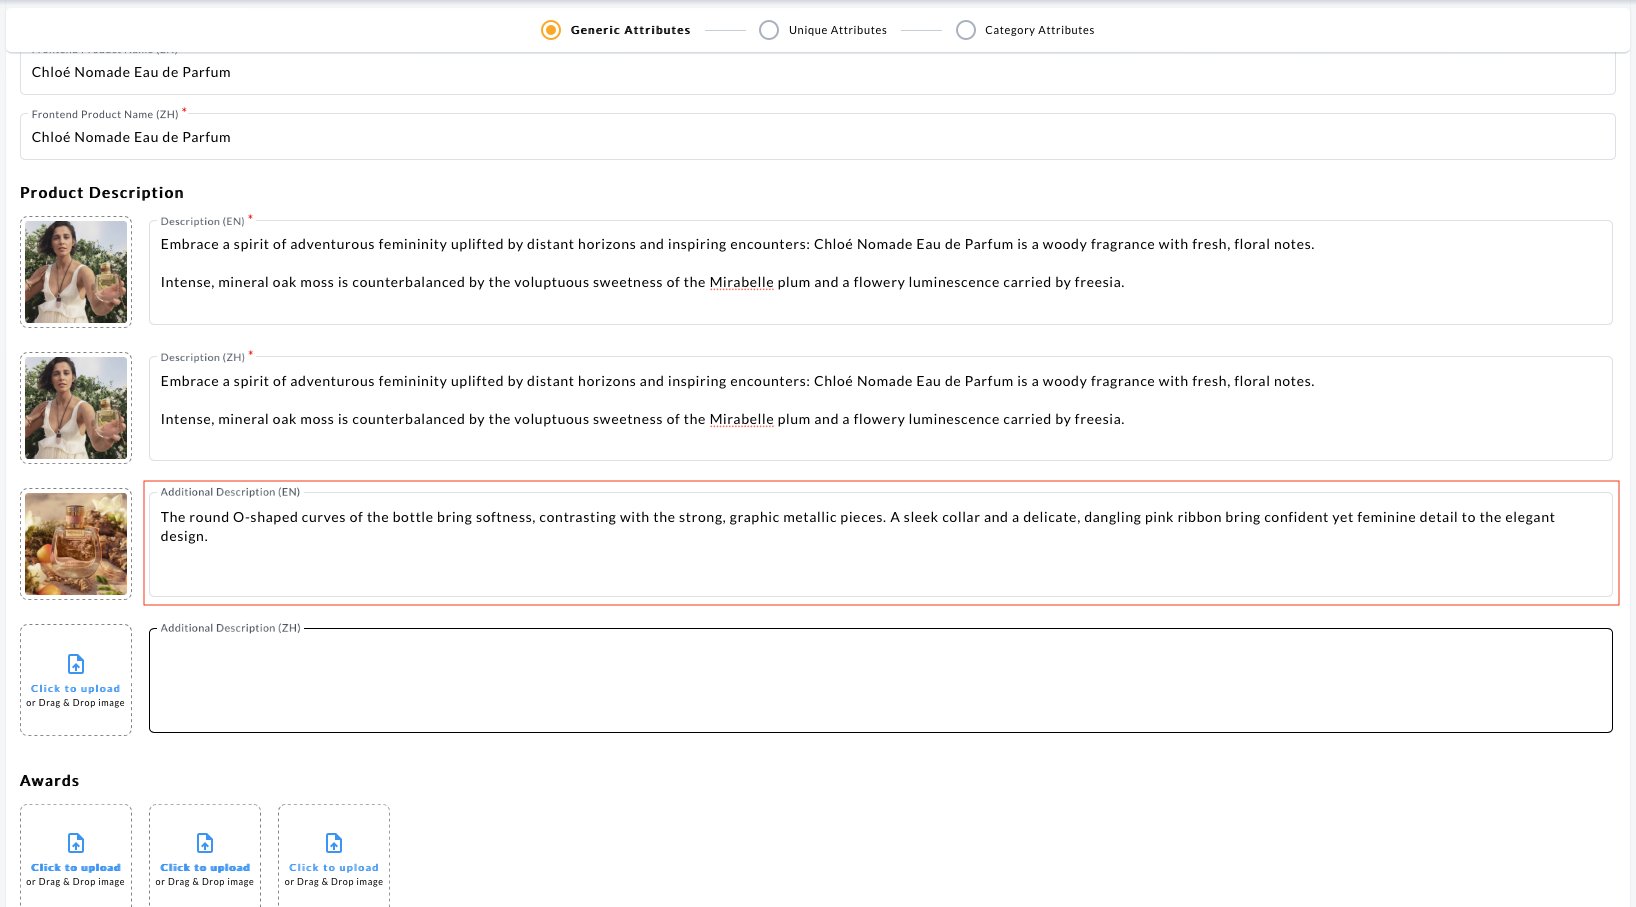
- Additional Description Image (EN), [ZH]: Insert an additional lifestyle image of the product. It will appear on the left of the Additional Description
- Awards Image 1: Include awards and accolades! This will inform the customer that the product listed is an award-winning product and they will be more inclined to purchase it😊 Each award and accolade image to occupy less than or equal to 1/16 of the entire product image
- Video Link 1 (EN), [ZH]: Input the video link ⚠️ Only YouTube video links are accepted.
- Is Free Gift?: Select Yes if product is a GWP.
- Travel Exclusive: Select True if product is sold exclusively for Travellers only.
- Love SG: Select True if product is from a local brand in Singapore
- Changi Exclusive: Select True if product is sold exclusively in Changi only and nowhere else in the world.
- Changi 1st: Select True if product is first to launch or pre-launch in
Changi (E.g. Worldwide/ Asia/ APAC/ TR/ TR APAC),
Changi exclusive packaging set or TR bundle set,
Changi Exclusive shade/ colour/ size or
has a Changi exclusive GWP. - Changi 1st Start Time: Start date refers to start of launch and exclusivity. Format: DD-MM-YYYY
- Changi 1st End Time: End date refers to end of launch and exclusivity. Format: DD-MM-YYYY
- Gift And Value: Select True if product is a Gift Set.
- Meta Description (EN), [ZH]: Input phrases on the product, product type, function etc.❗255 characters max.
- Meta Keywords (EN), [ZH]: Input keywords on the product, product type, function etc.💡Provide up to 10 keywords. Please separate them with comma.❗255 characters max.
- SEO Description (EN), [ZH]: Brief description of the product’s unique selling point in English [en] and in Simplified Chinese Characters [zh].❗255 characters max.
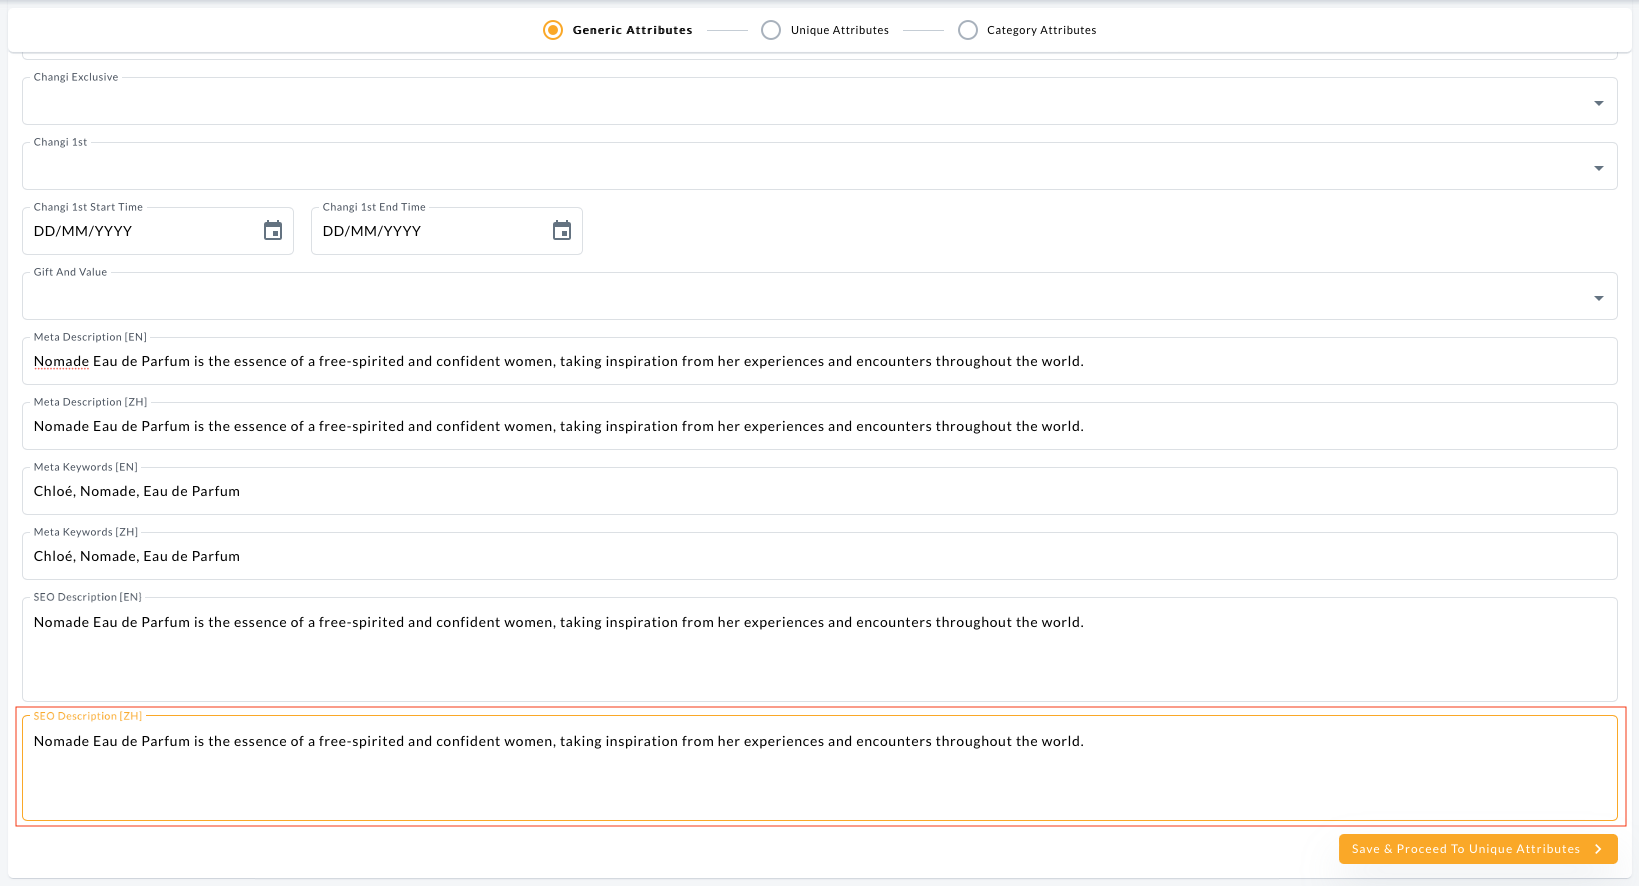
- Click on Save and Proceed to Unique Attributes
Step 2: Unique Attributes
- Backend Product Name (EN), [ZH]: Product Name in English. Input the variant details. E.g., Apple iPhone 15 – Silver 256GB. This is for backend reference and will appear in order documentation and reports.
- SKU Code: Company’s internal code for the SKU.❗16 characters max without symbols or spaces. For Bundle SKUs, please create a unique code. ⚠️ Do not use the same code as a single selling SKU as this will overwrite the data of the single selling SKU.
- EAN: EAN/ Bar Code Number.❗16 characters max without symbols or spaces. For Bundle SKUs, please create a unique code. ⚠️ Do not use the same code as a single selling SKU as this will overwrite the data of the single selling SKU.
- Hero Image: Image should feature the product voucher on a plain white background.
E.g., (Left Image) Vertical image cropped to the edges. (Right Image) Horizontal image cropped to the edges.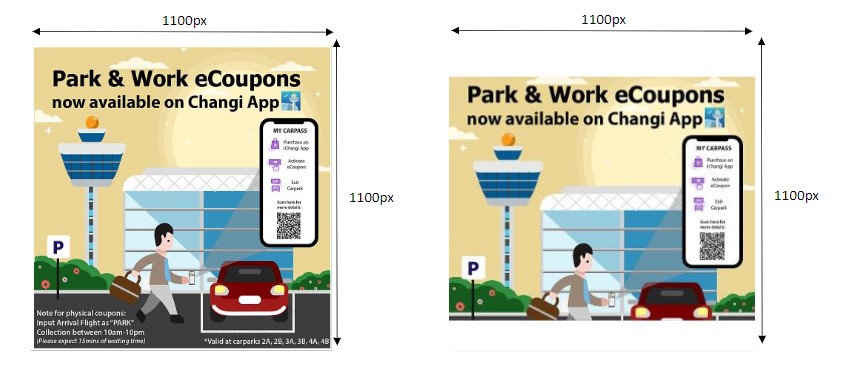
- Retail Price: Selling price before discount and tax. Ensure that the price indicated meets the Free Delivery criteria.💡 This is the selling price before GST ℹ️ Please select False (ensure selection is toggled to grey) for the GST Absorption – Non Traveller field in the later steps.
- Stock Quantity: Stock available for sale.
- Out Of Stock Quantity: Offer will be taken offline when the stock level of the SKU hits this number.
- Low Quantity Alert: A notification will sent when the stock level of the SKU hits this number.
- Availability Start Date: If product is available for a certain period of time, please state the Start Date/ Time.
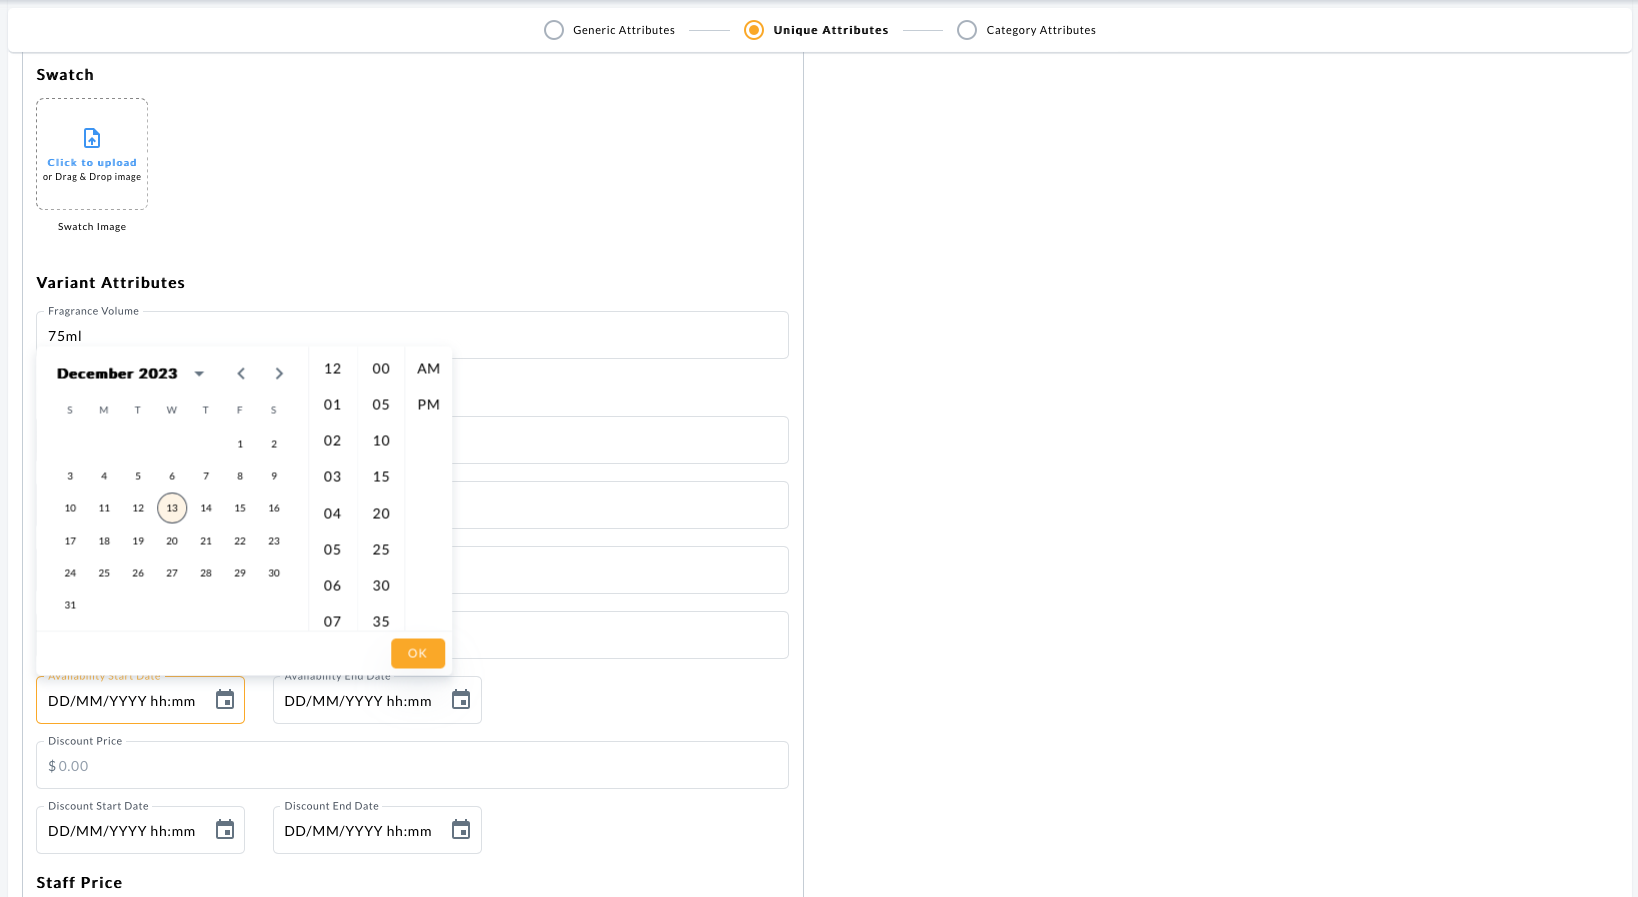
- Availability End Date: To hide a product from storefront, input yesterday’s date.
- Discount Price: Discounted price before tax💡 This is the discounted price before GST ℹ️ Please select False (ensure selection is toggled to grey) for the GST Absorption – Non Traveller field in the later steps.
- Discount Start Date: When the Discount starts.
- Discount End Date: When the Discount ends.
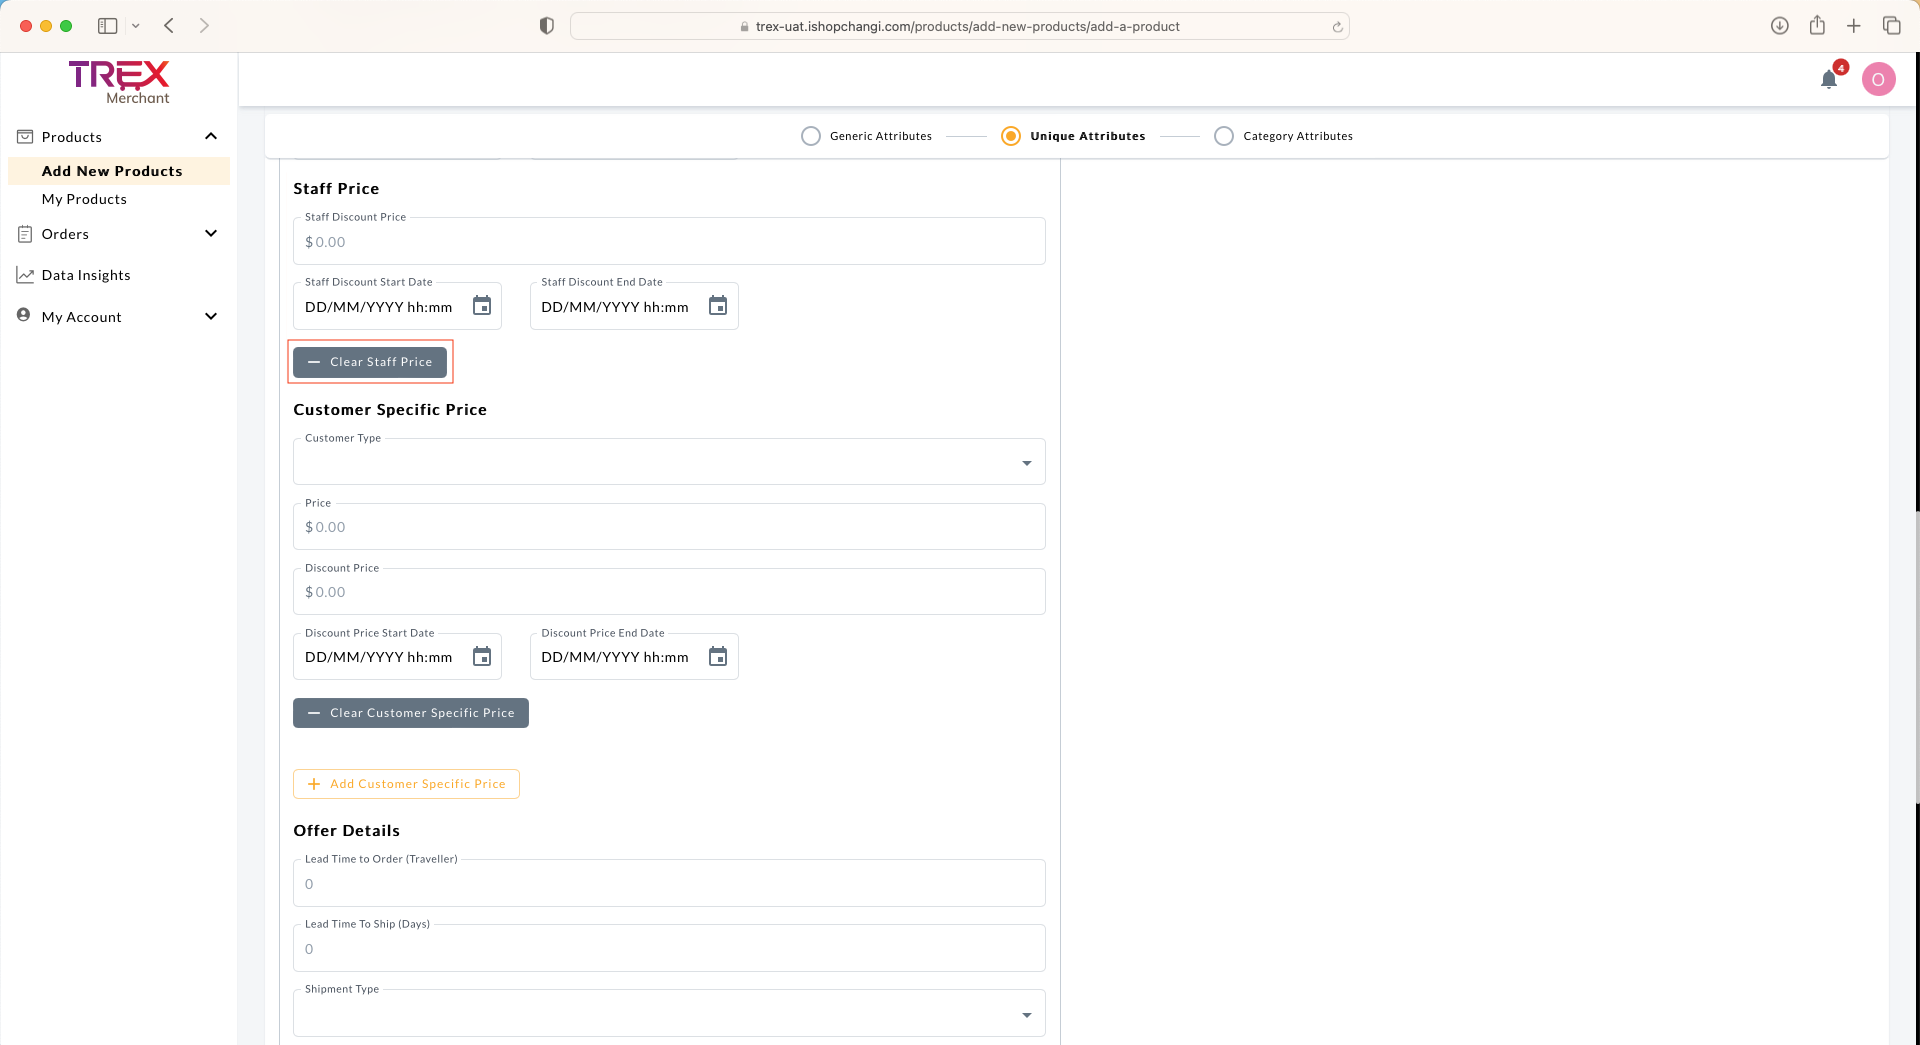
- Staff Discount Price: Staff Discount Price for the Airport Community. 💡This is the discounted price before GST ℹ️ Please select False (ensure selection is toggled to grey) for the GST Absorption – Non Traveller field in the later steps.
- Staff Discount Start Date: When the Staff Discount starts.
- Staff Discount End Date: When the Staff Discount ends. If you wish to clear the Staff Price details, please click on the Clear Staff Price button
- Lead Time to Ship (Days): Only applicable for Dropship Merchant3PL fulfillment mode. Lead time to prepare your order before handing it over to your logistics partner. Input Numeric Value > 1.
💡 This is added into the calculation for # of delivery days on storefront. E.g. Latest delivery by= Lead time to ship (days) + Maximum delivery days - Shipment Type: Select Merchant 3PL. Please speak to your Account Managers to proceed with this arrangement as this needs to be configured backend.
- Airport Collection: Select None
- Home Delivery: Select HomeNonTraveller
- GST Absorption – Non-Travellers: Ensure that the selection is toggled so that it turns grey. This indicates that the store is not absorbing GST.
- Rental Department Code: Please check in with your Account Manager if there are any special codes to input.
- Locker Restricted: Only applicable for CAG Consolidated fulfillment mode. If product is less than 80cm (Length x Width x Height) and is less than 5kg, toggle the selection so that it turns green (True!)
- LAG Item: If SKU is a Liquid, Aerosol or Gel product exceeding 100ML, toggle the selection so that it turns green (True!)💡 LAG products need to be packed in STEB bags during order fulfilment
- Airport Staff Only: If SKU is sold exclusively for airport staff, toggle the selection so that it turns green (True!)
- If there are no variants to add, please click on Save & Proceed to Category Attributes
What's Next
Once the products have been successfully created, the Seller Centre Team will review the products for approval.
📝 Note: SLA is 1-2 business days for product approvals.
If there are no issues, the product will be approved and the product status will change from New ➡️ Approved.
If there are issues, the product will be temporarily rejected and the rejection reason will be provided. The product status will change from New ➡️ Changes Required.
💡Upcoming product launch? Request for an expedited product approval.
