
How to create GWP and PWP in TREX
This tutorial explains how to create Gift with Purchase (GWP) and Purchase with Purchase (PWP) in TREX before setting up your promotions.
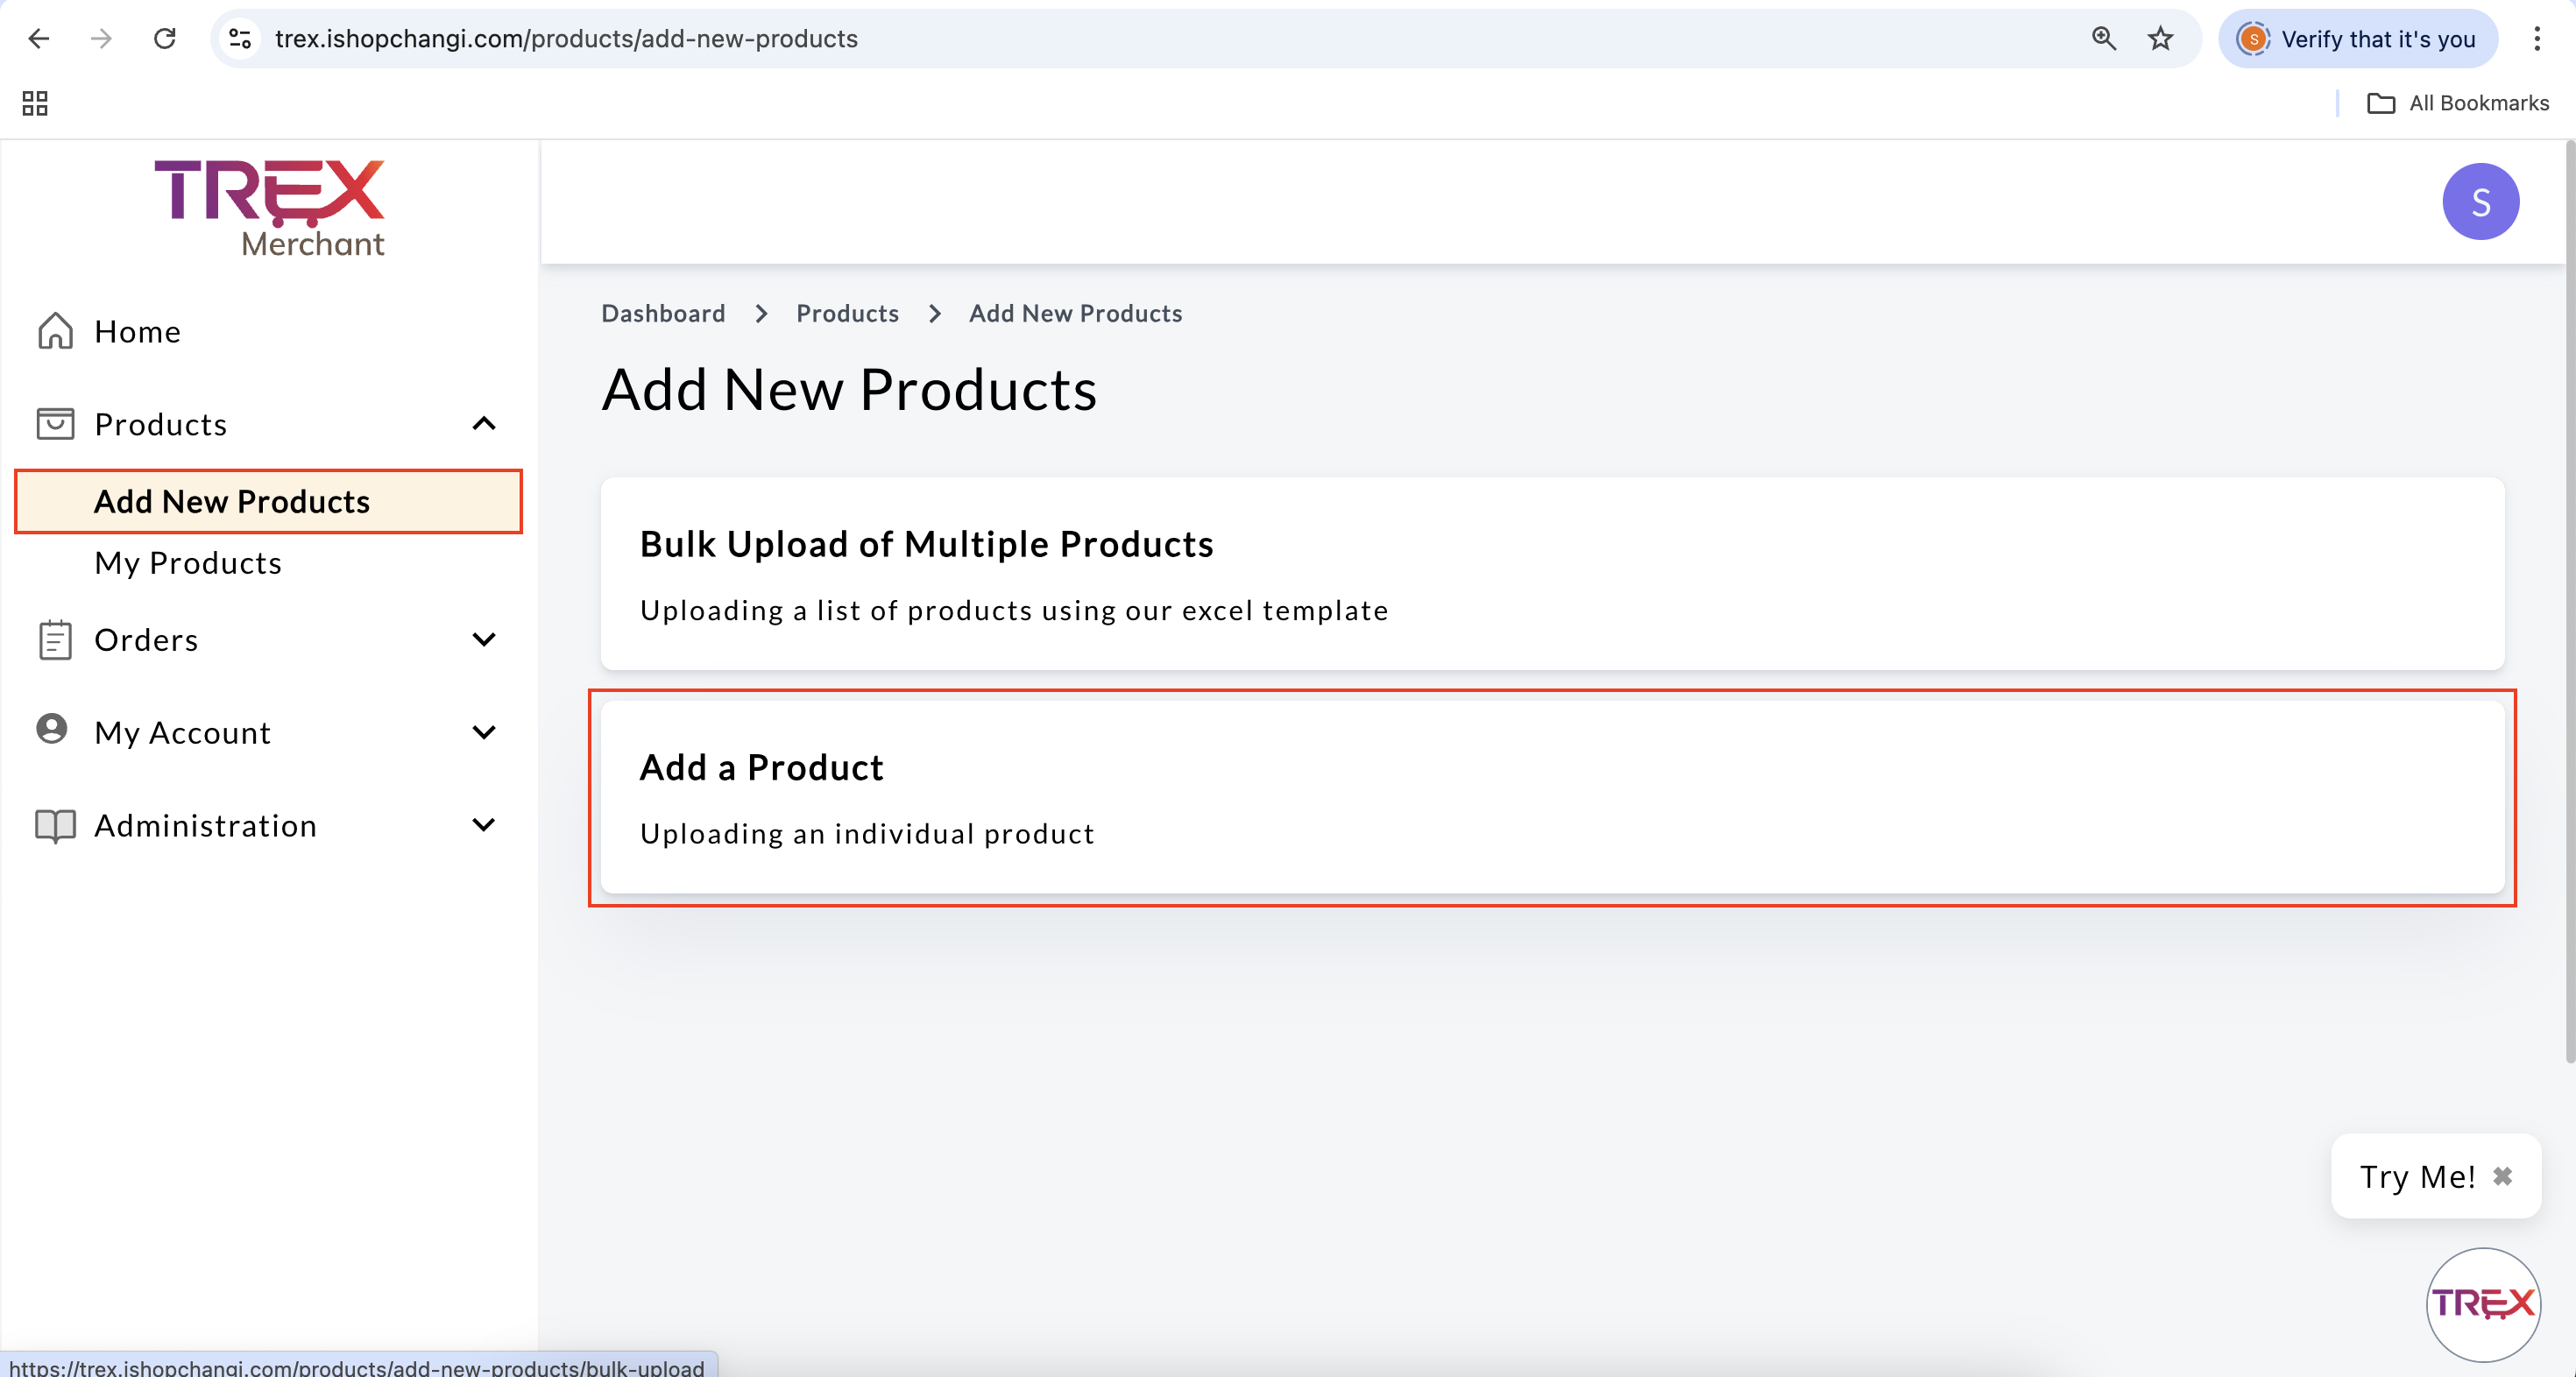
Individual Update
- Go to Products ➡️ Add a Product
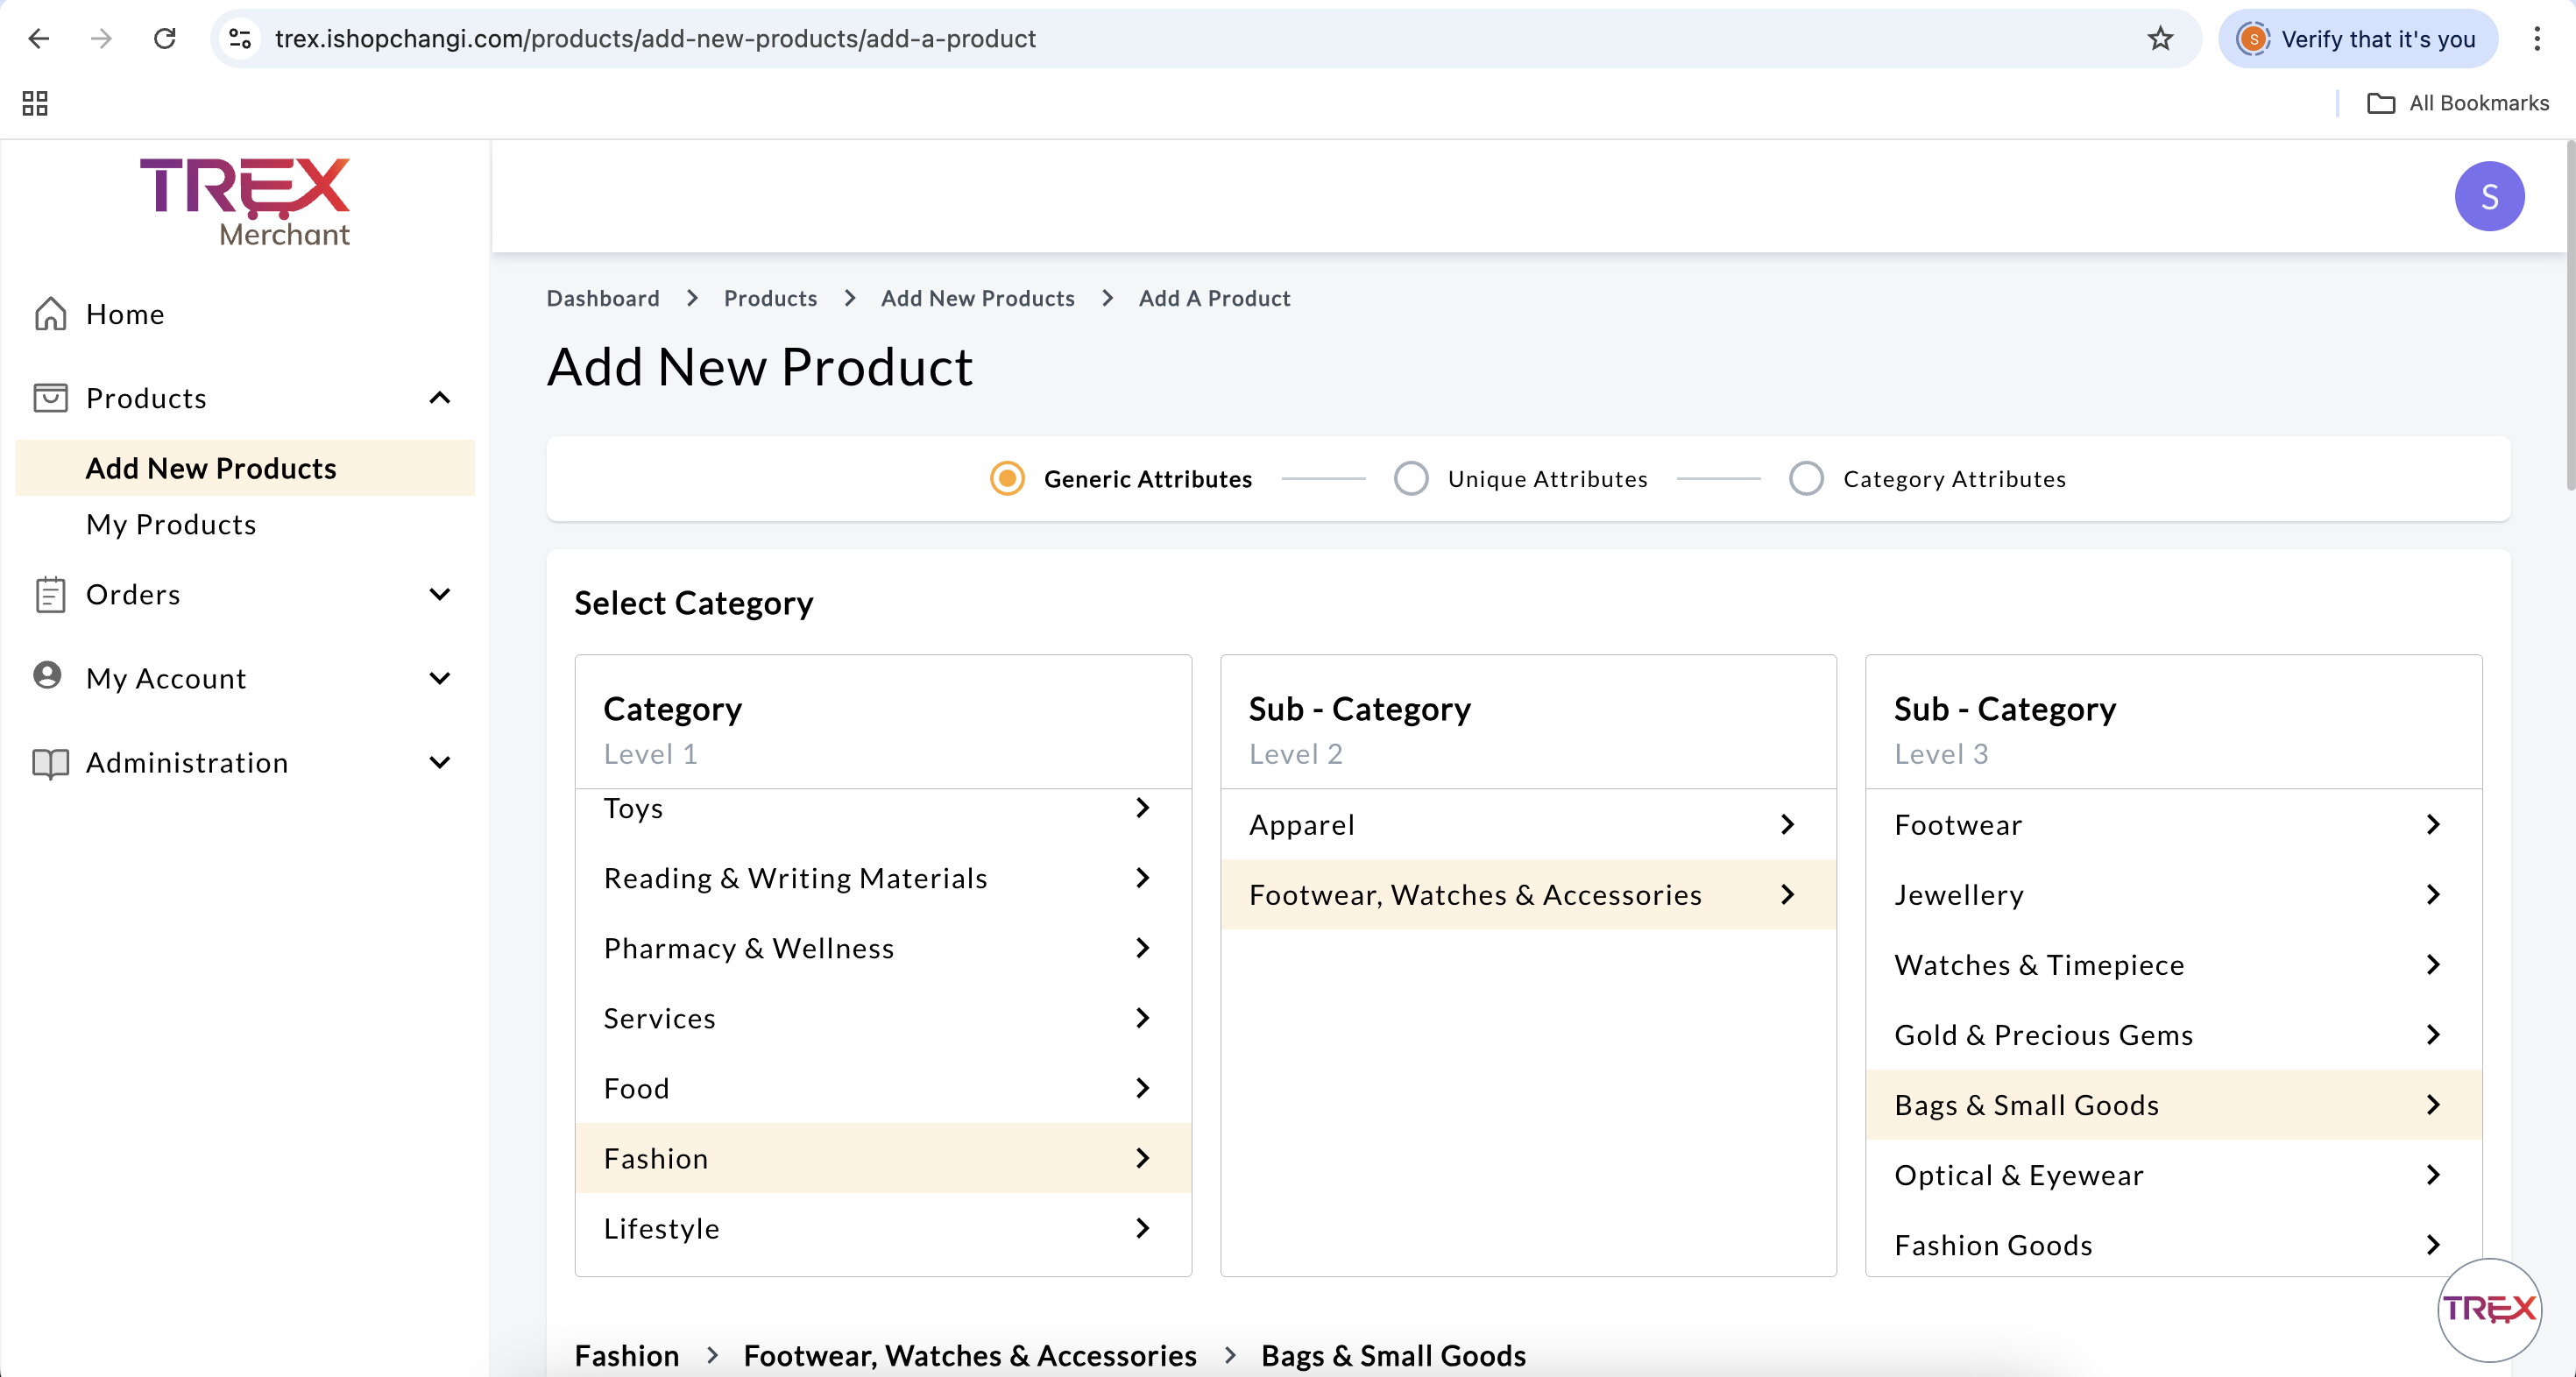
- Category: Select the most appropriate category for the GWP.
- Frontend Product Name [en] [zh]: Input “GWP” in front of the Product Name.
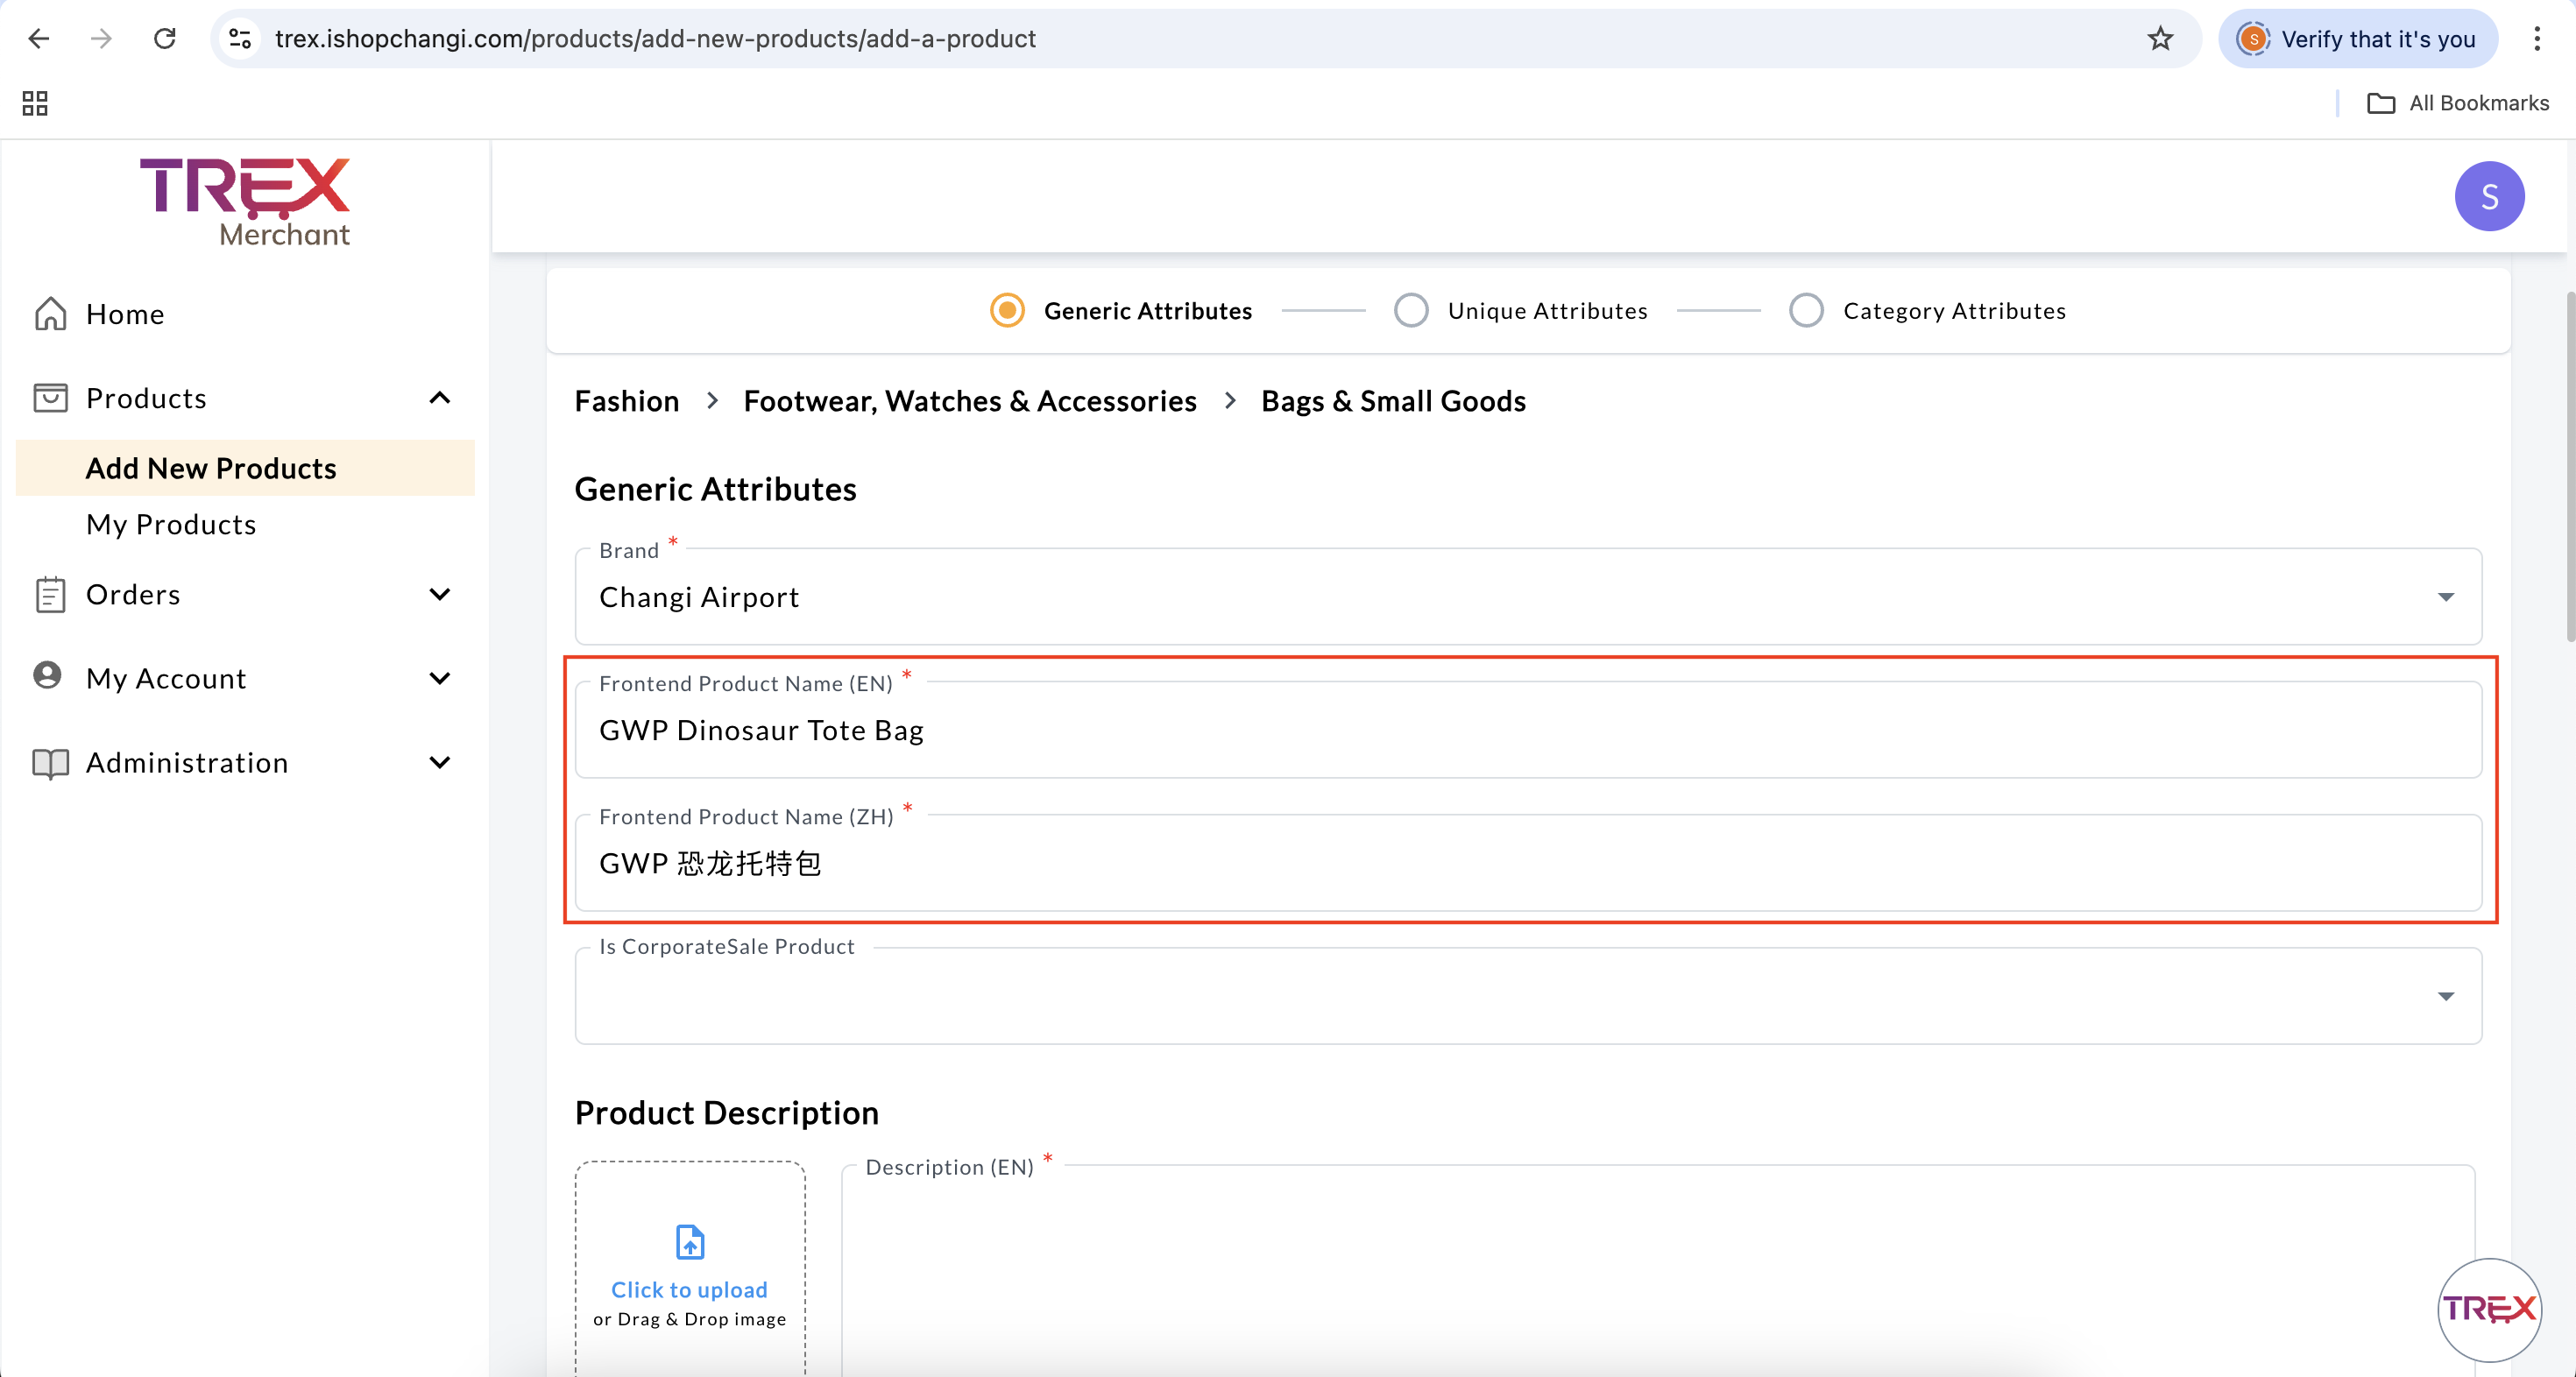 It will appear under the Gift(s) entitled for your order section next to the FREE word at checkout.
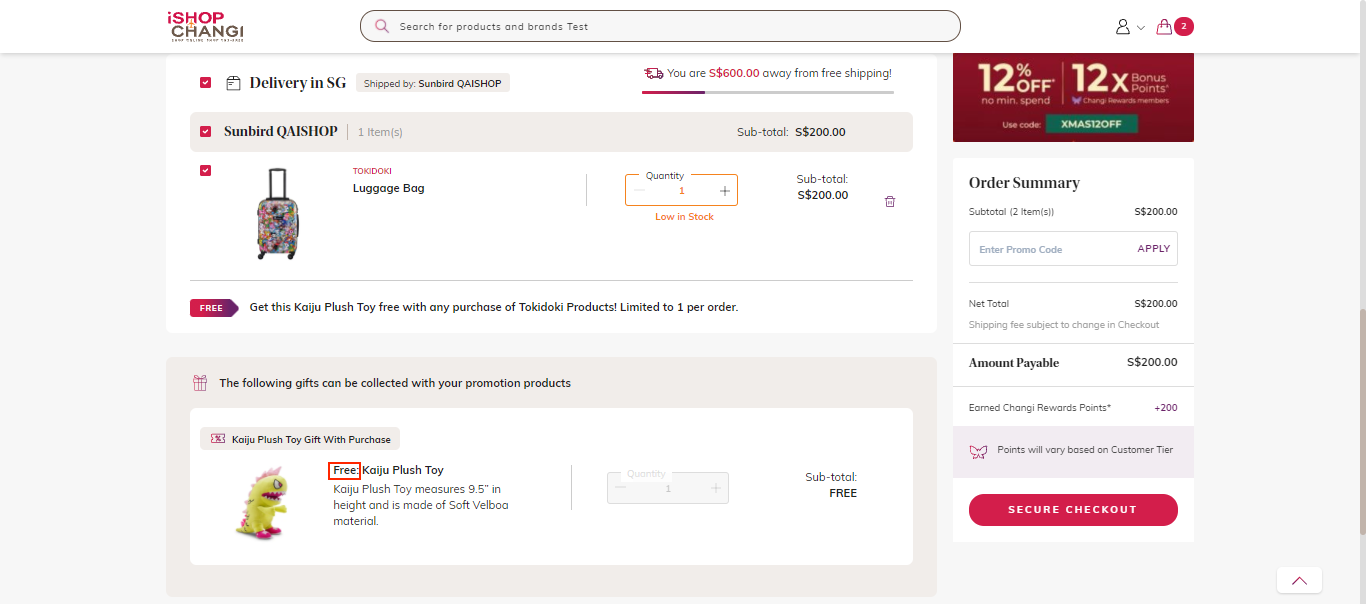
- Description [en] [zh]: Keep the Description brief to 1 sentence.
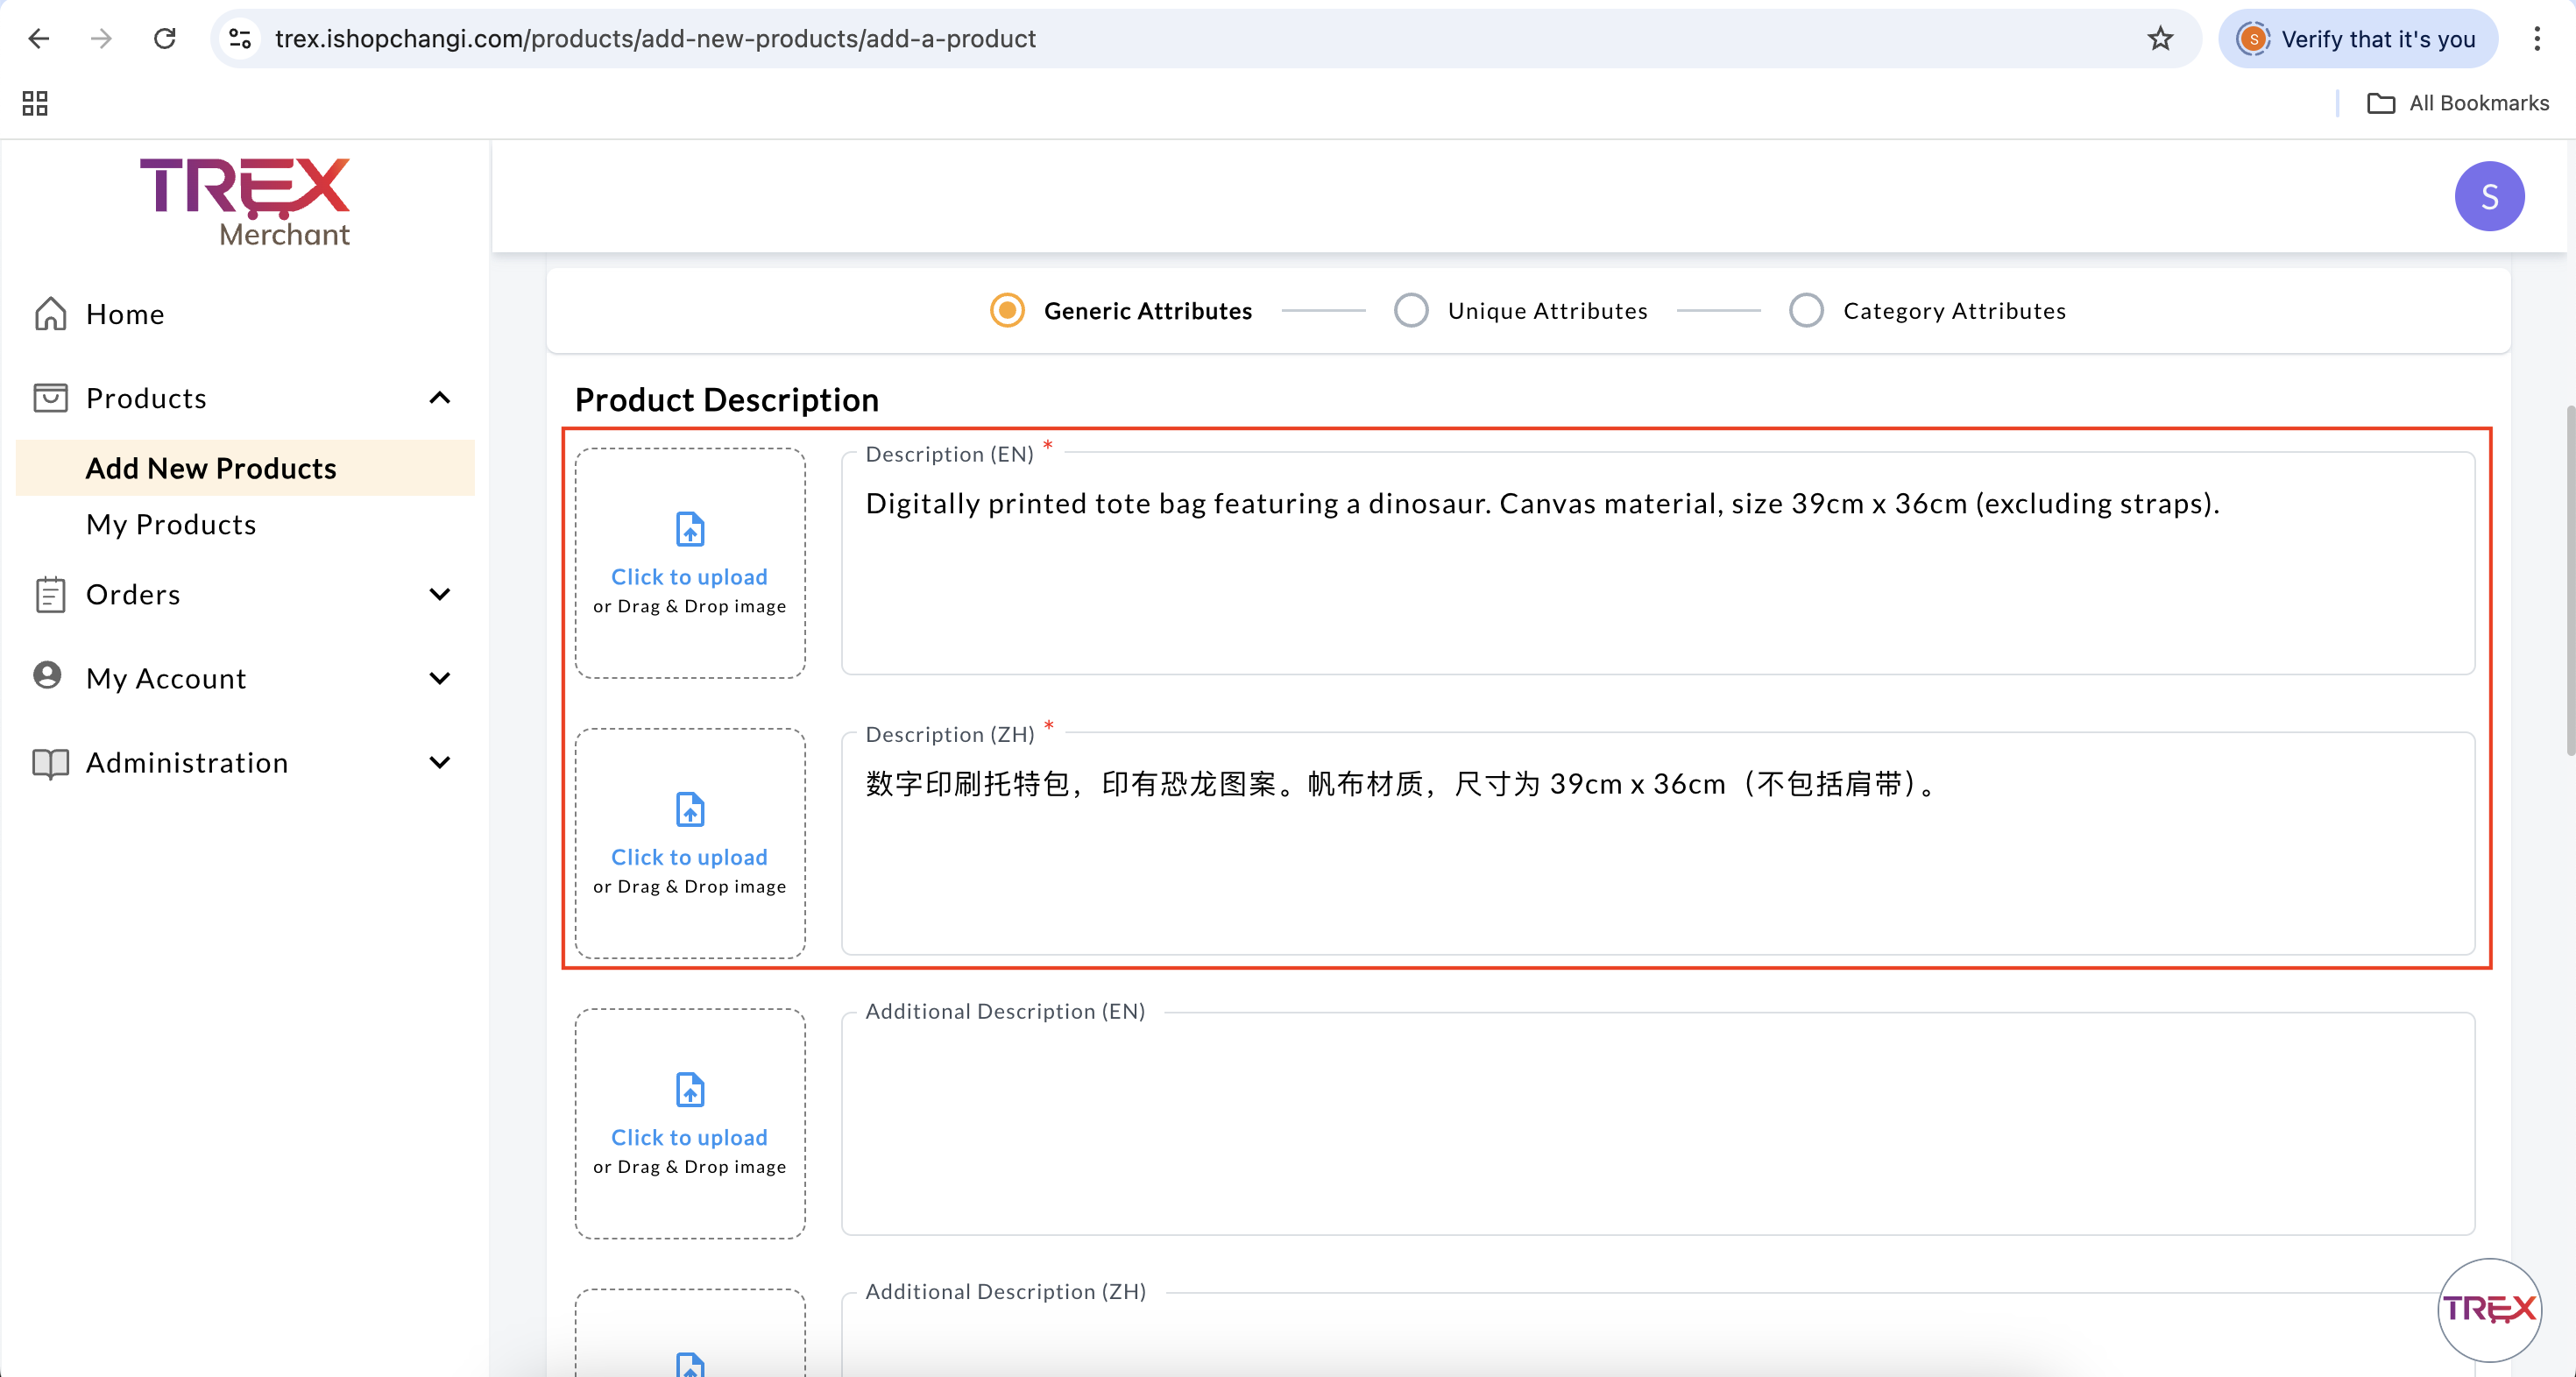 This will also appear under Gift(s) entitled for your order section at checkout.
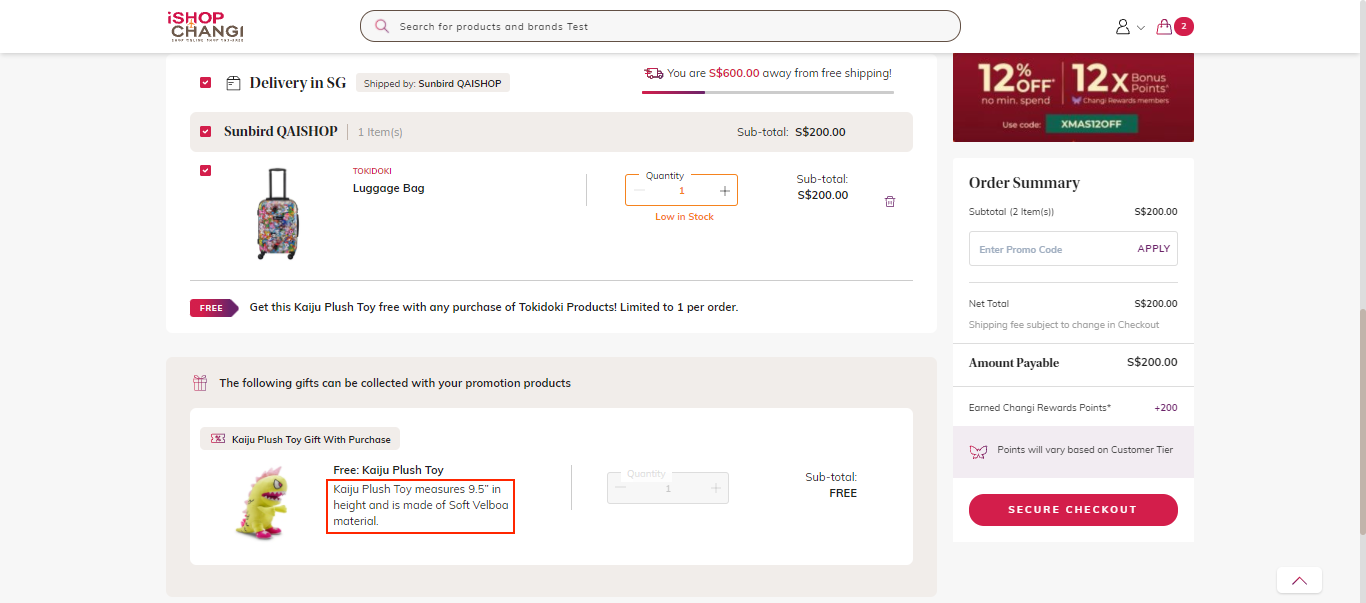
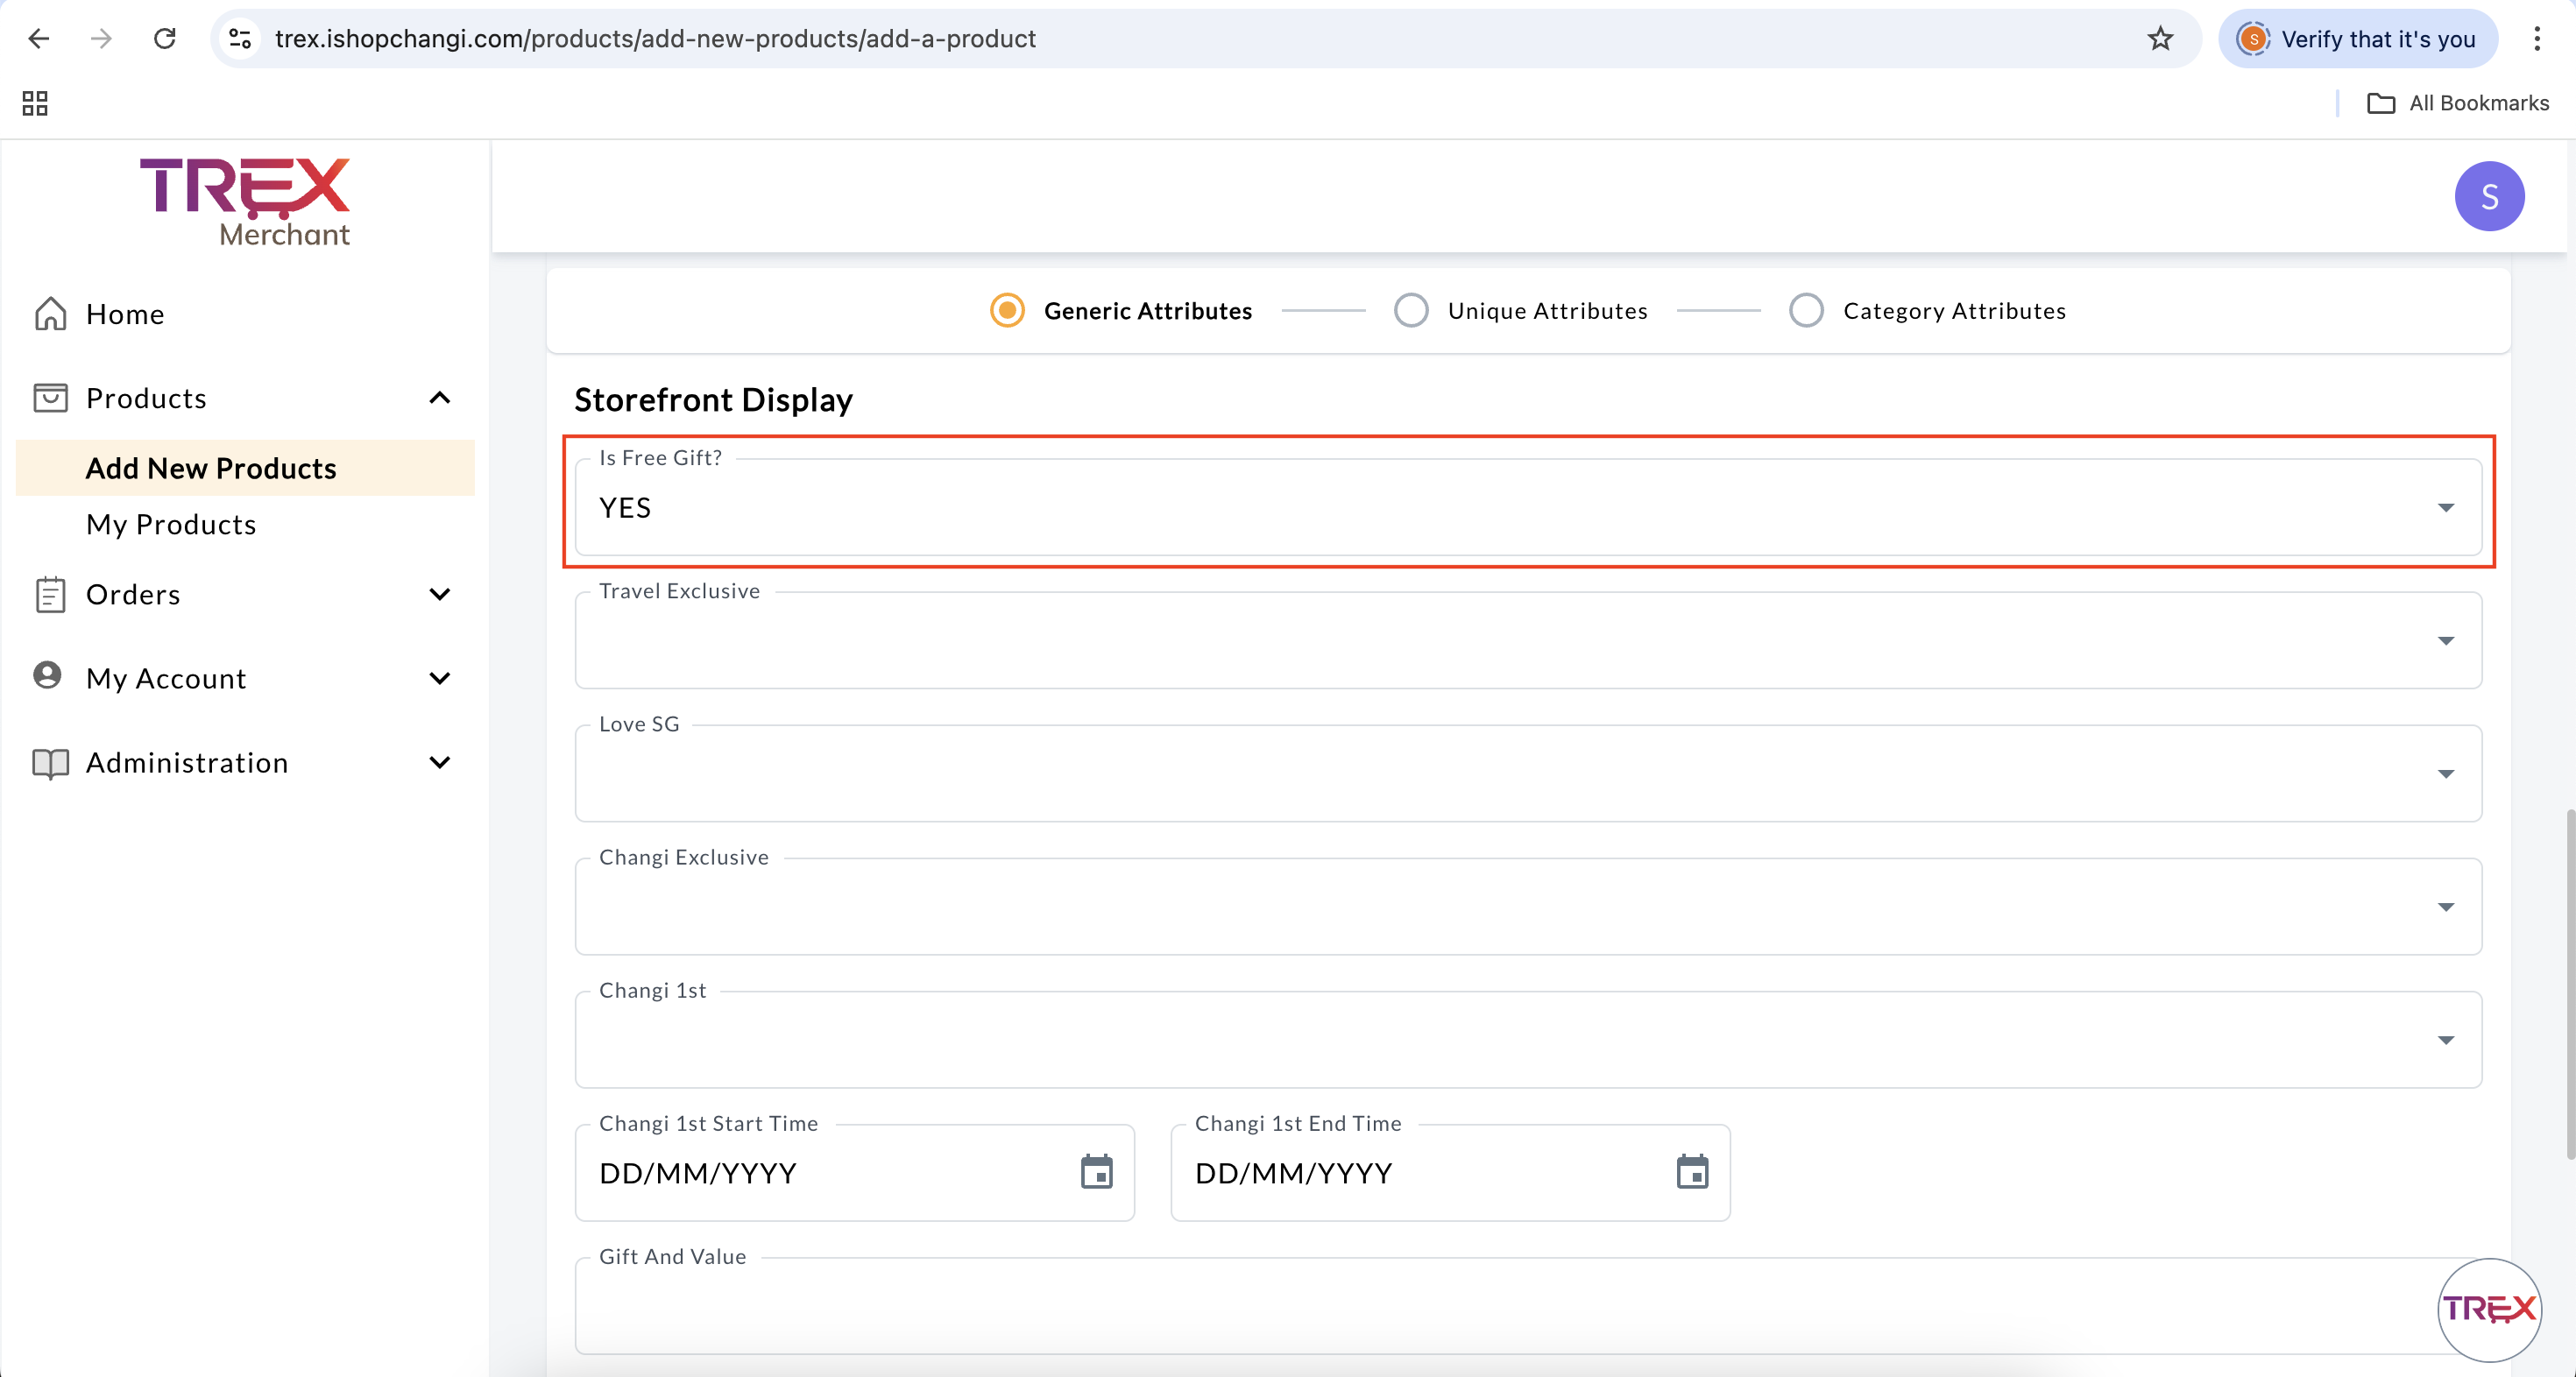
- Is Free Gift?: select Yes. This will ensure that the product is not for sale on storefront.
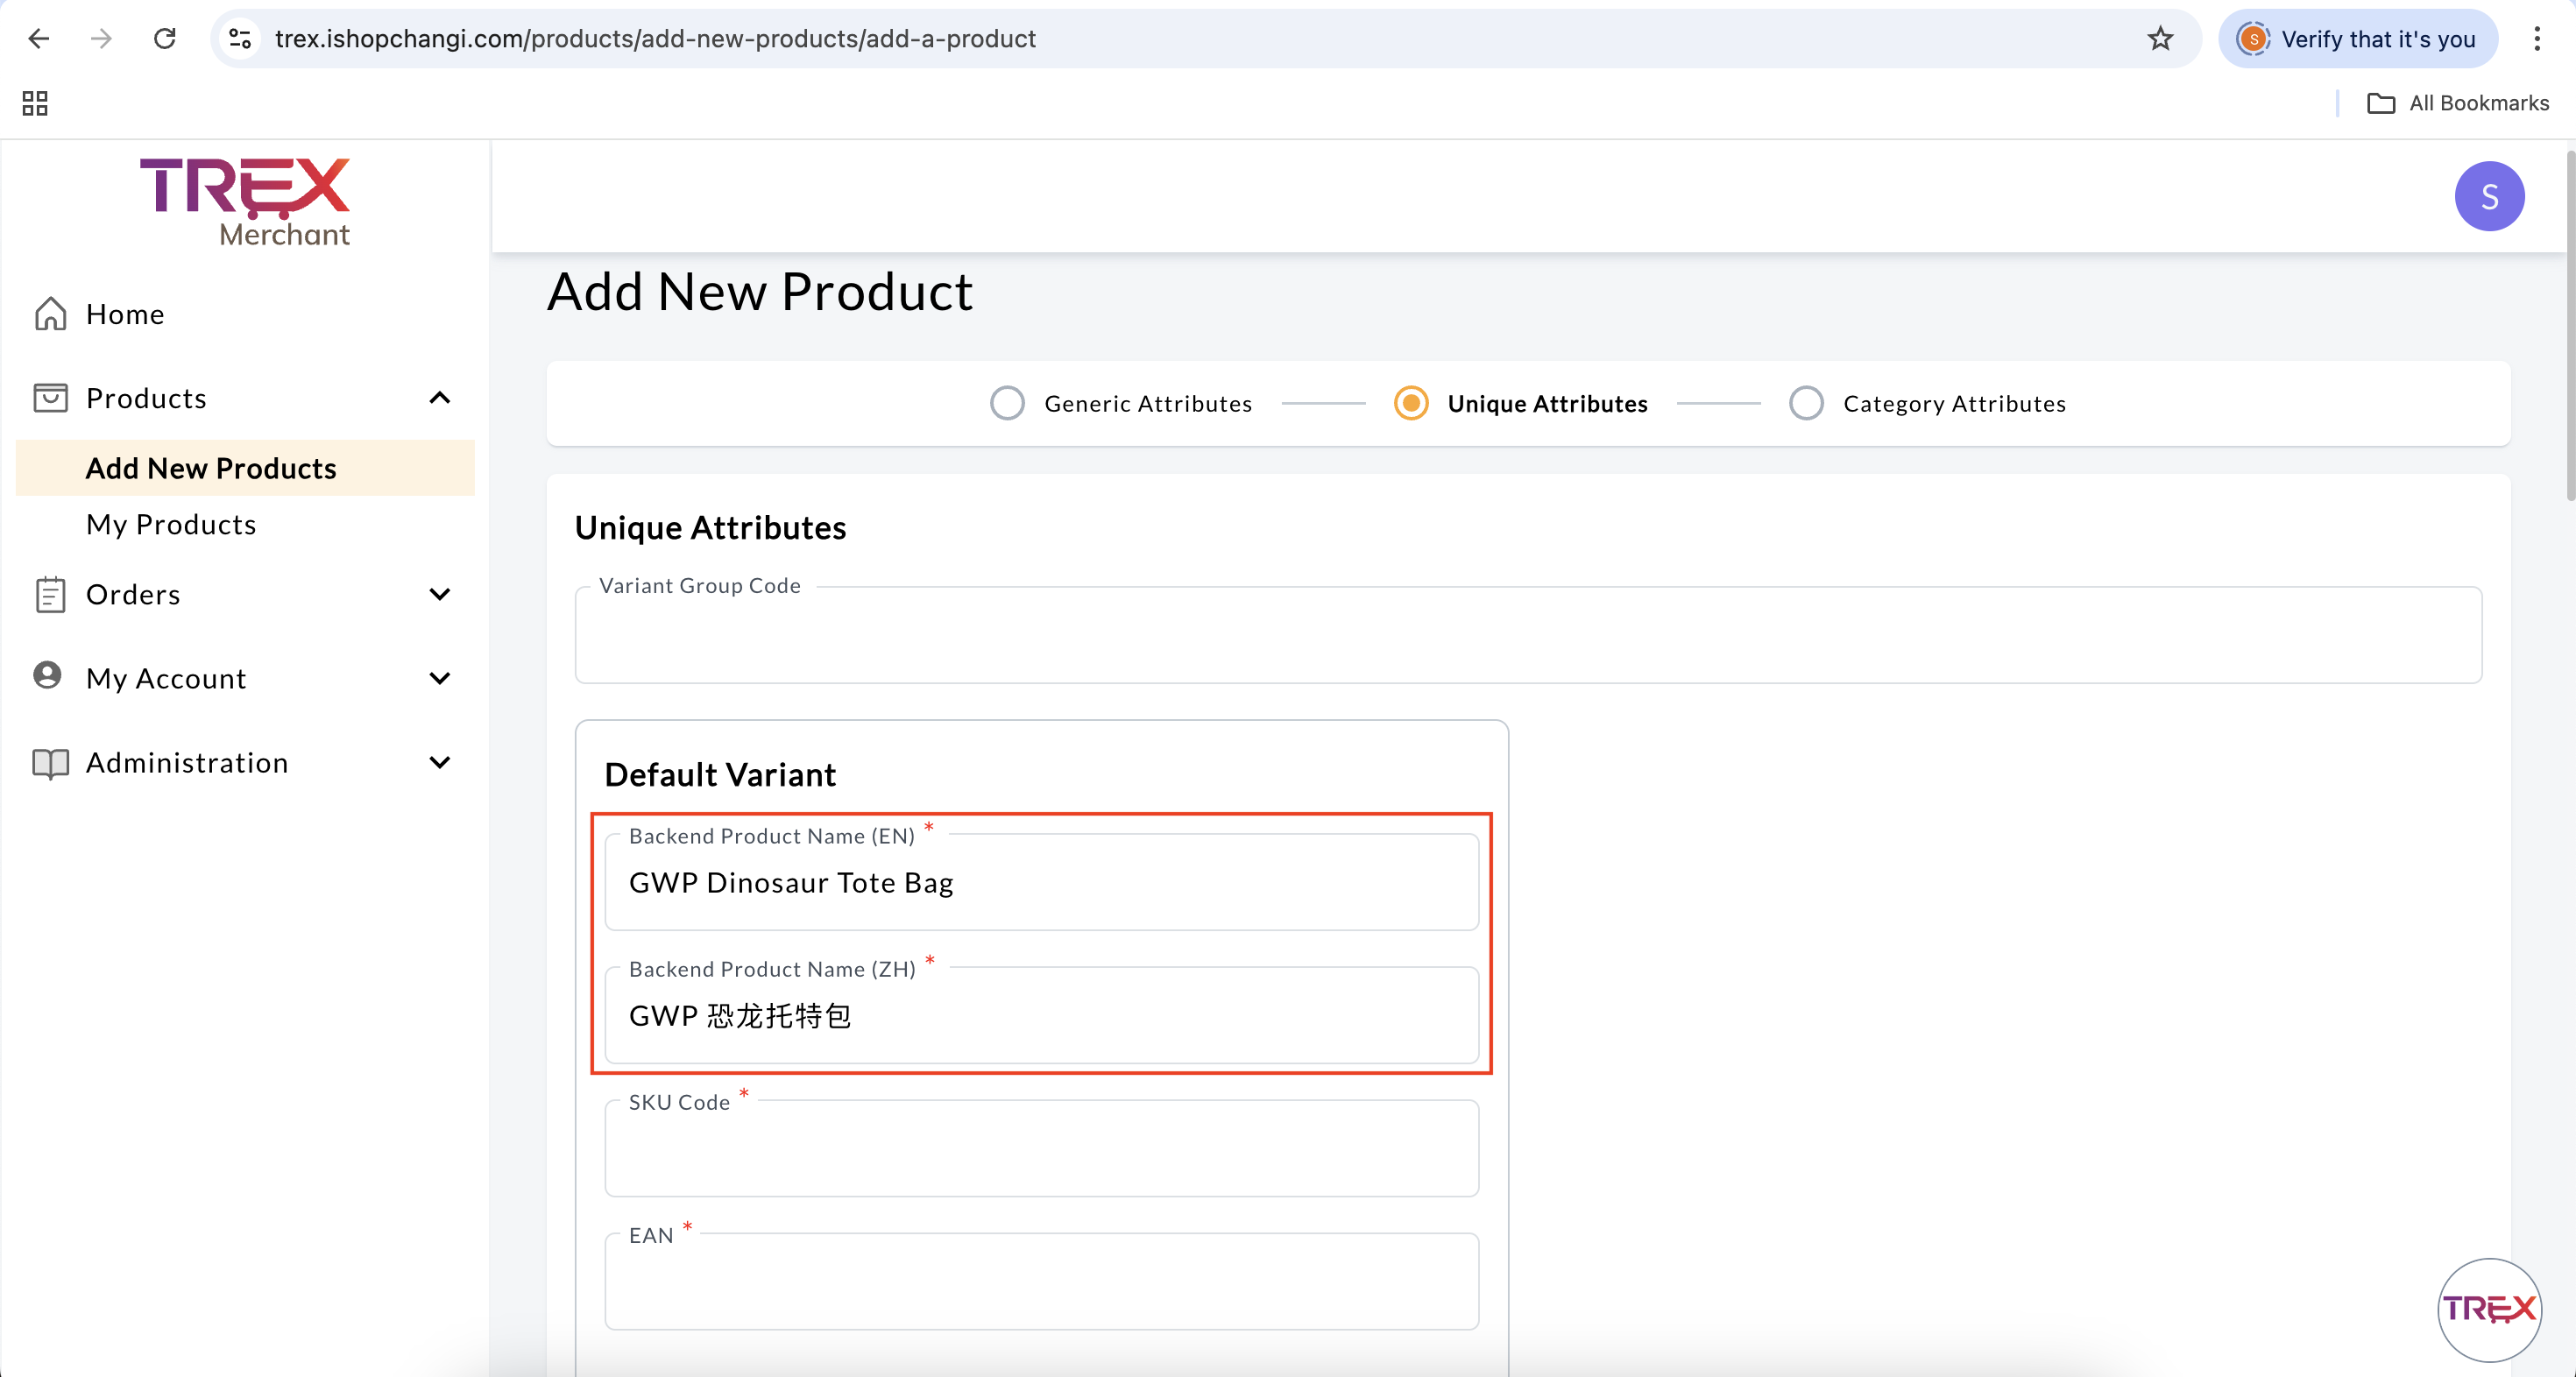
- Backend Product Name [en] [zh]: Input “GWP” in front of the Product Name.
- SKU Code: Create a special code for the GWP.
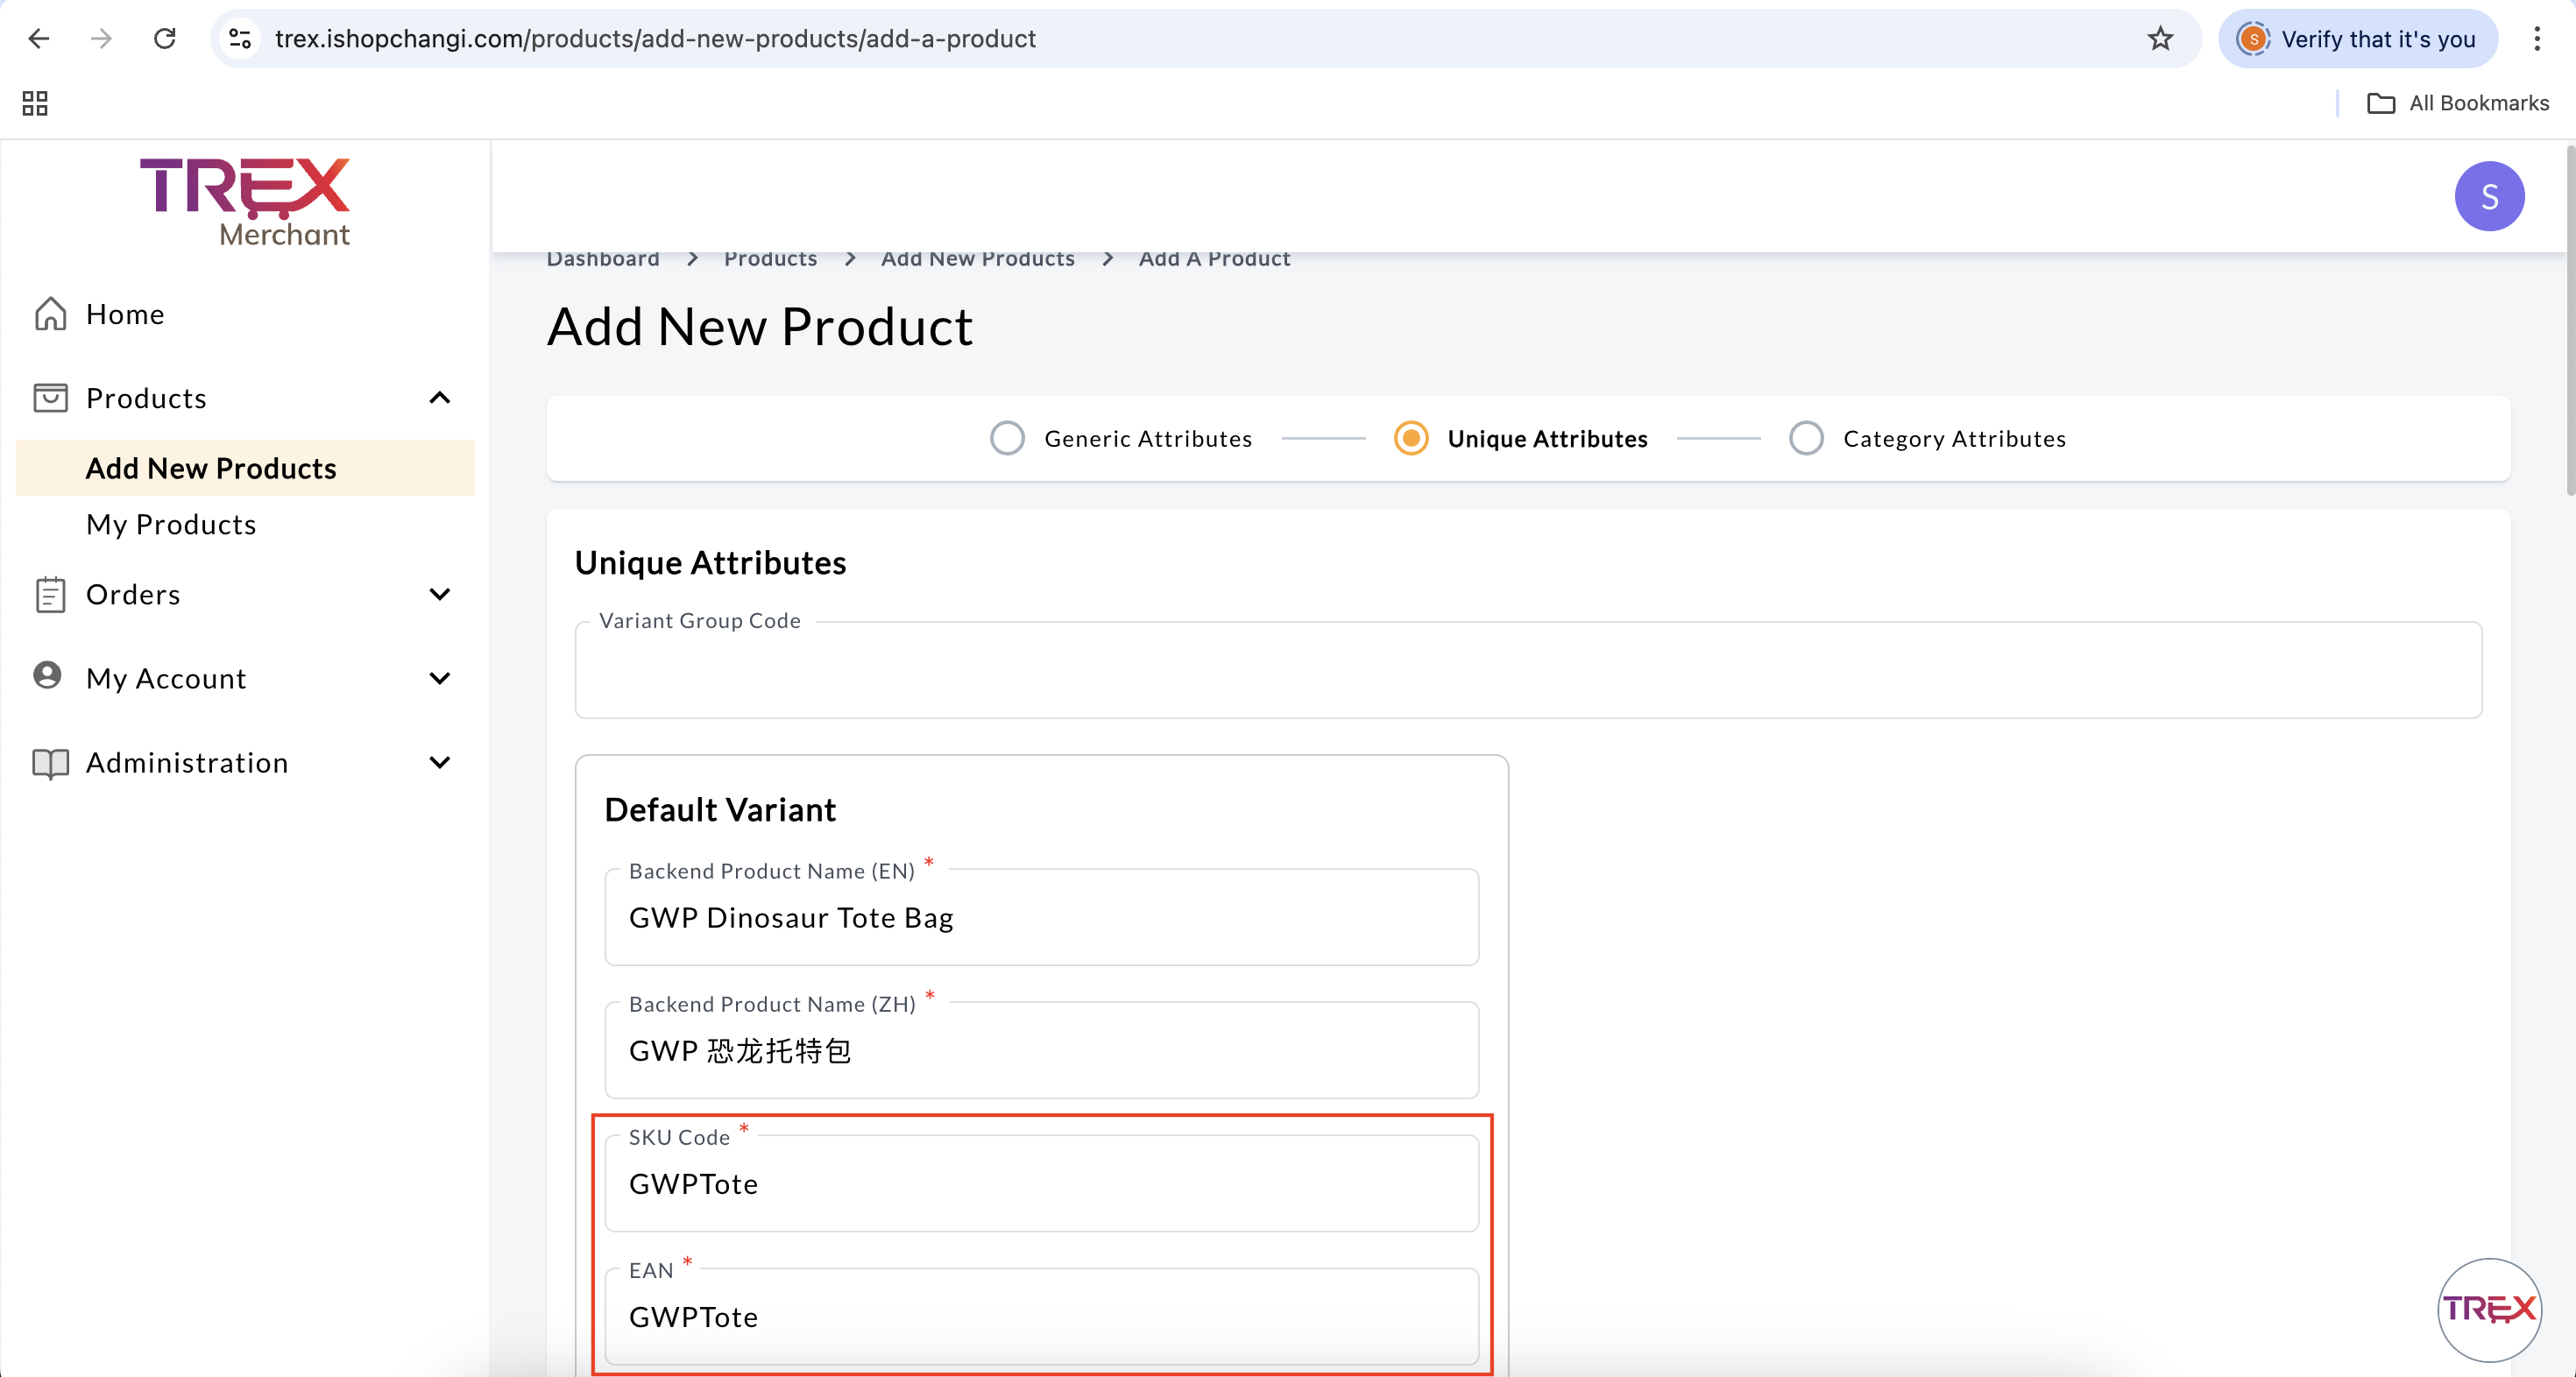
- EAN: Create a special code for the GWP.
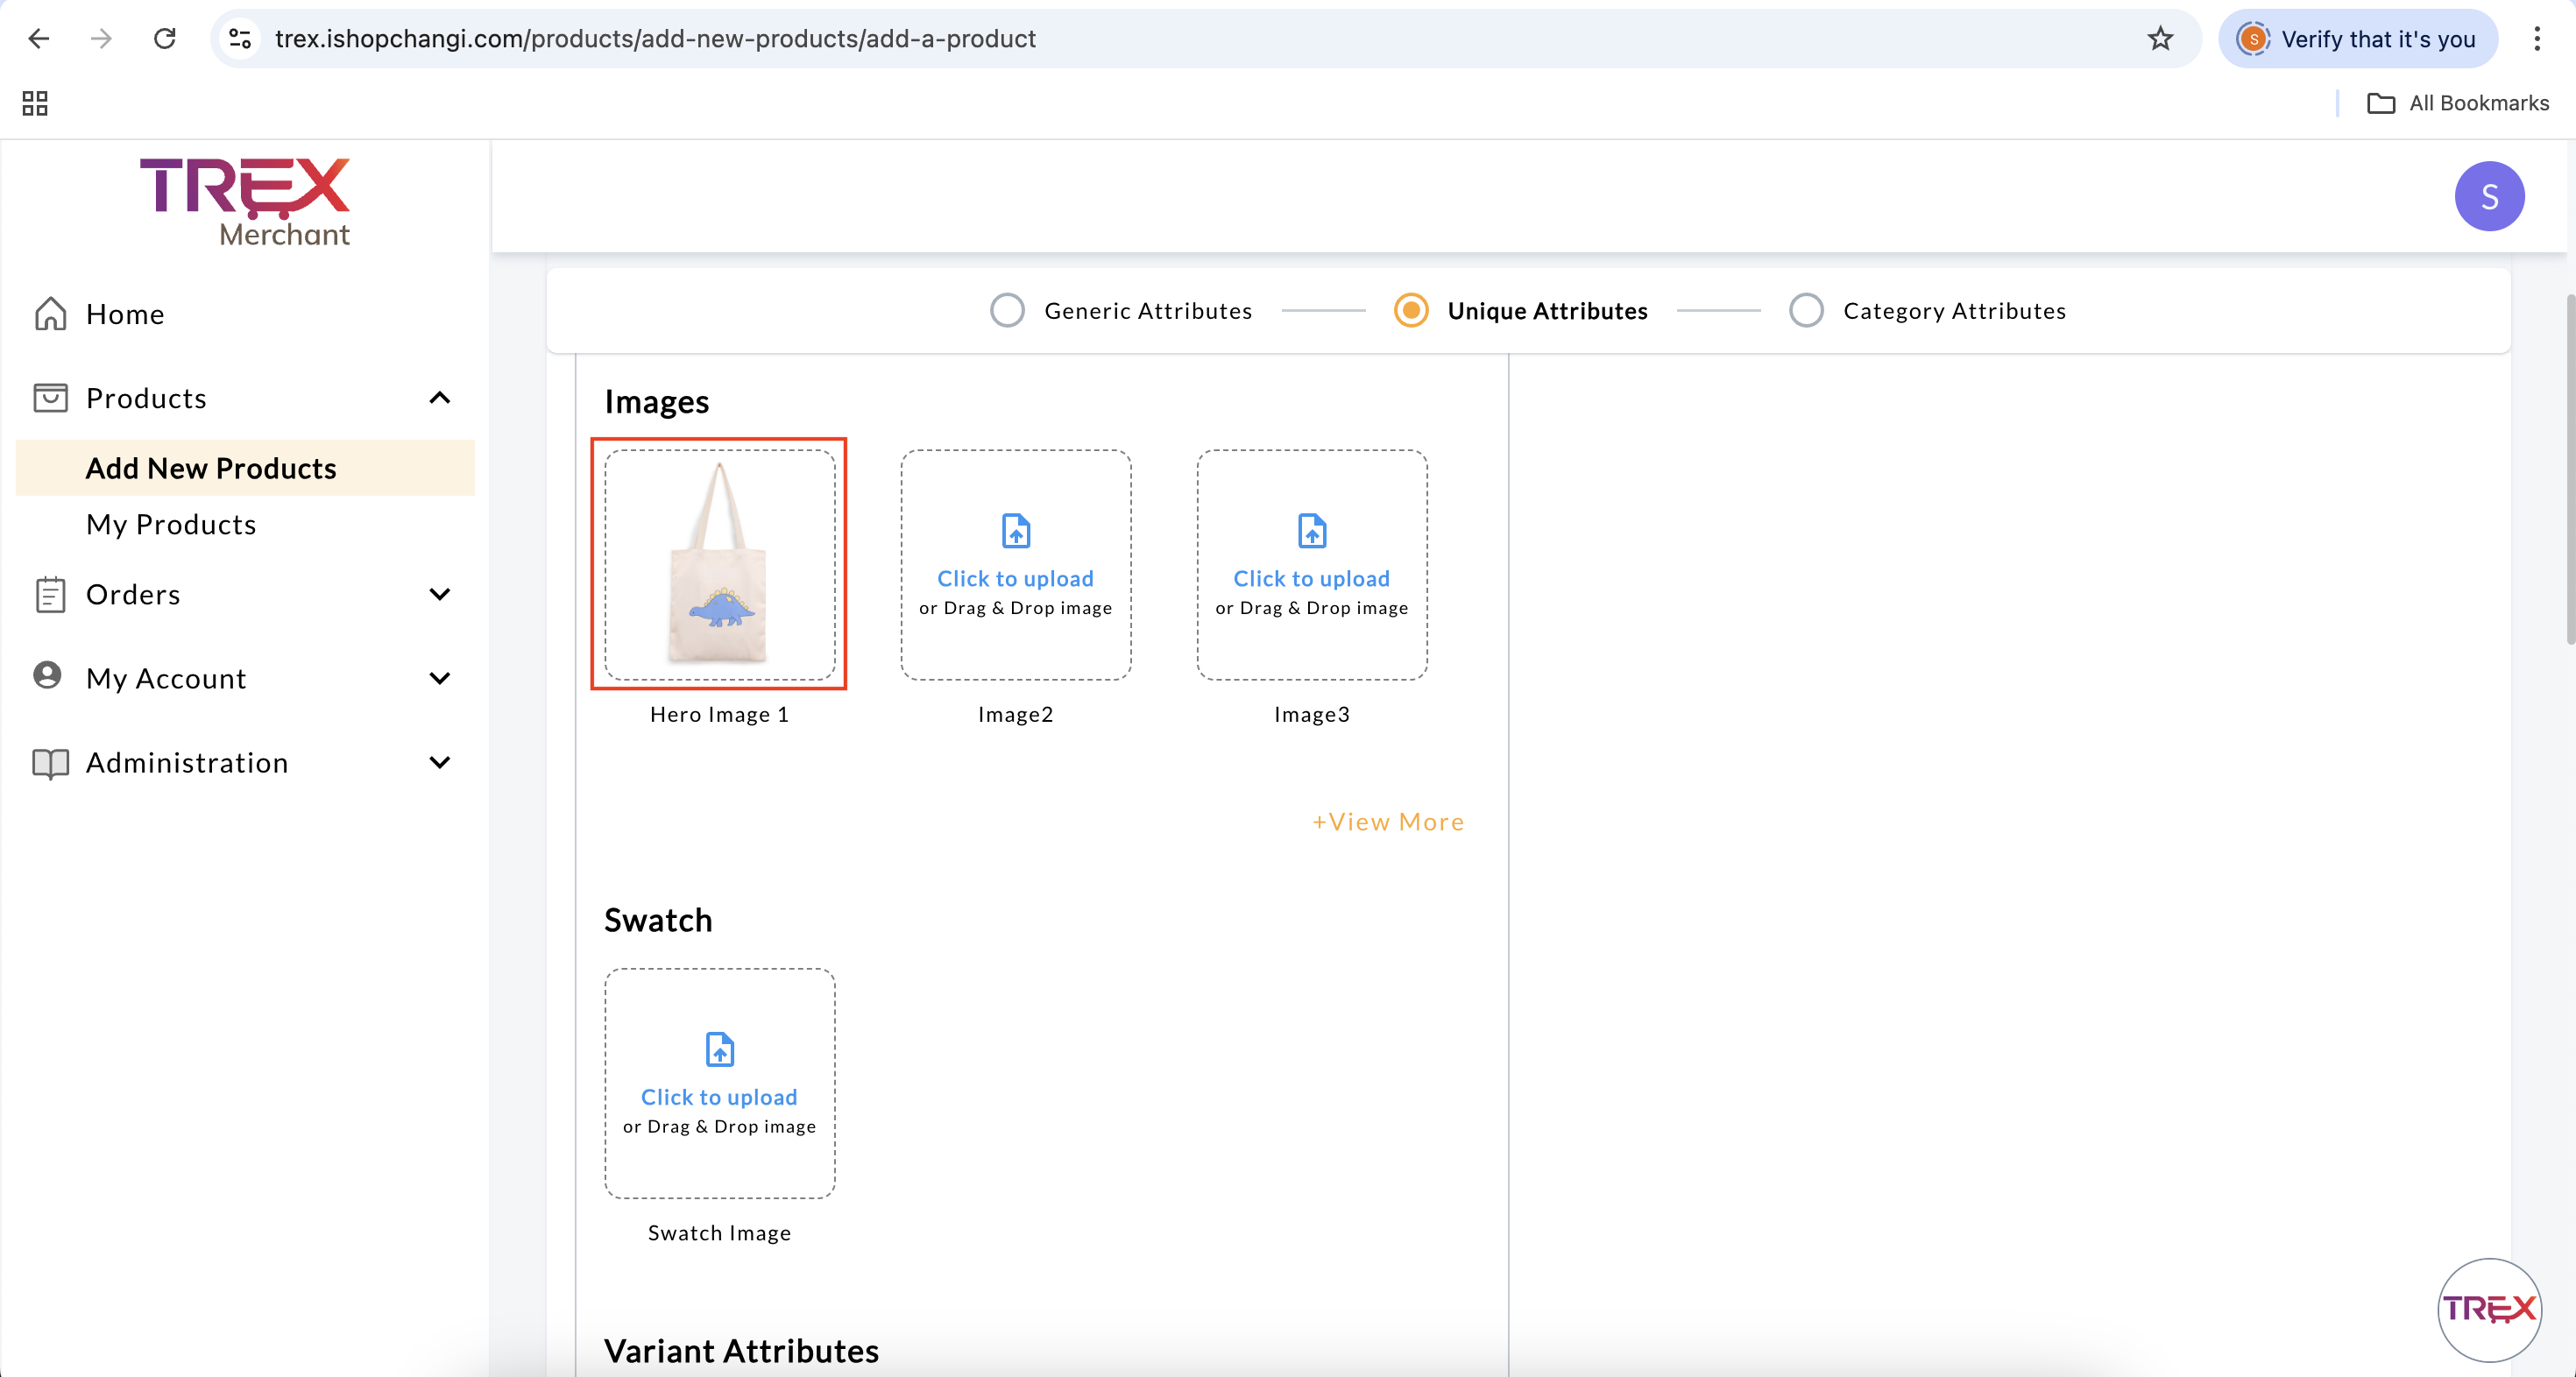
- Image: Follow the Product Image Guidelines..
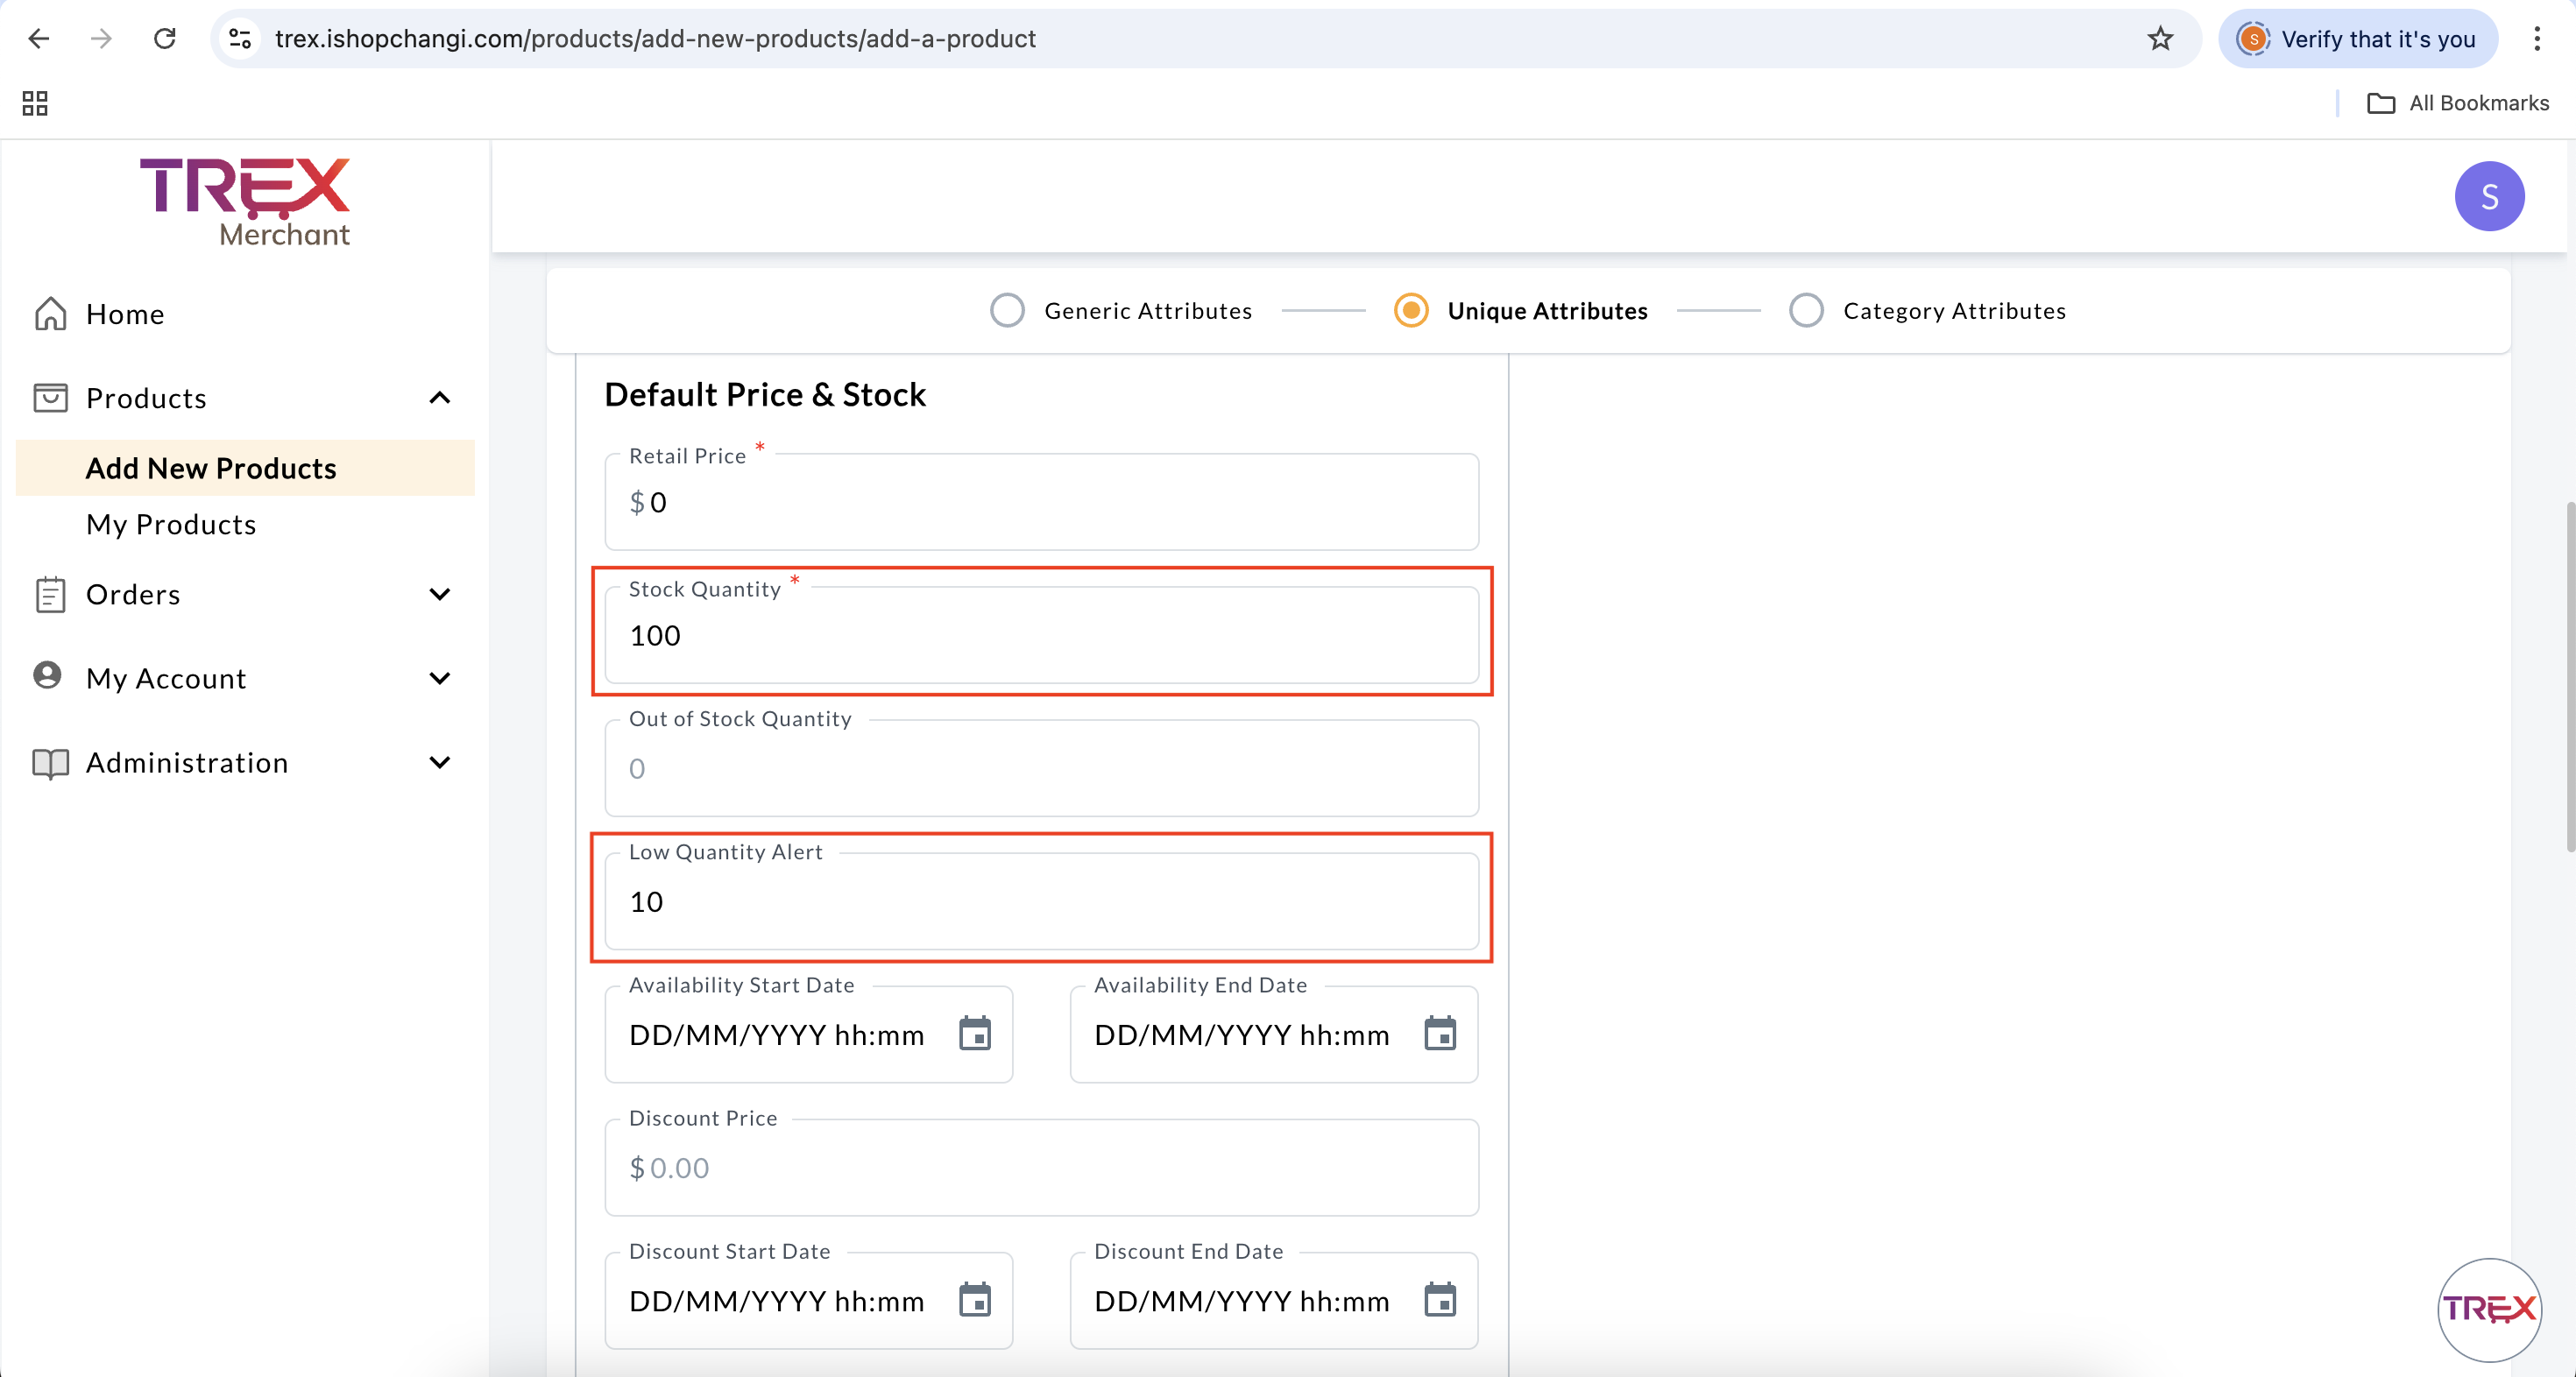
- Retail Price: $0.
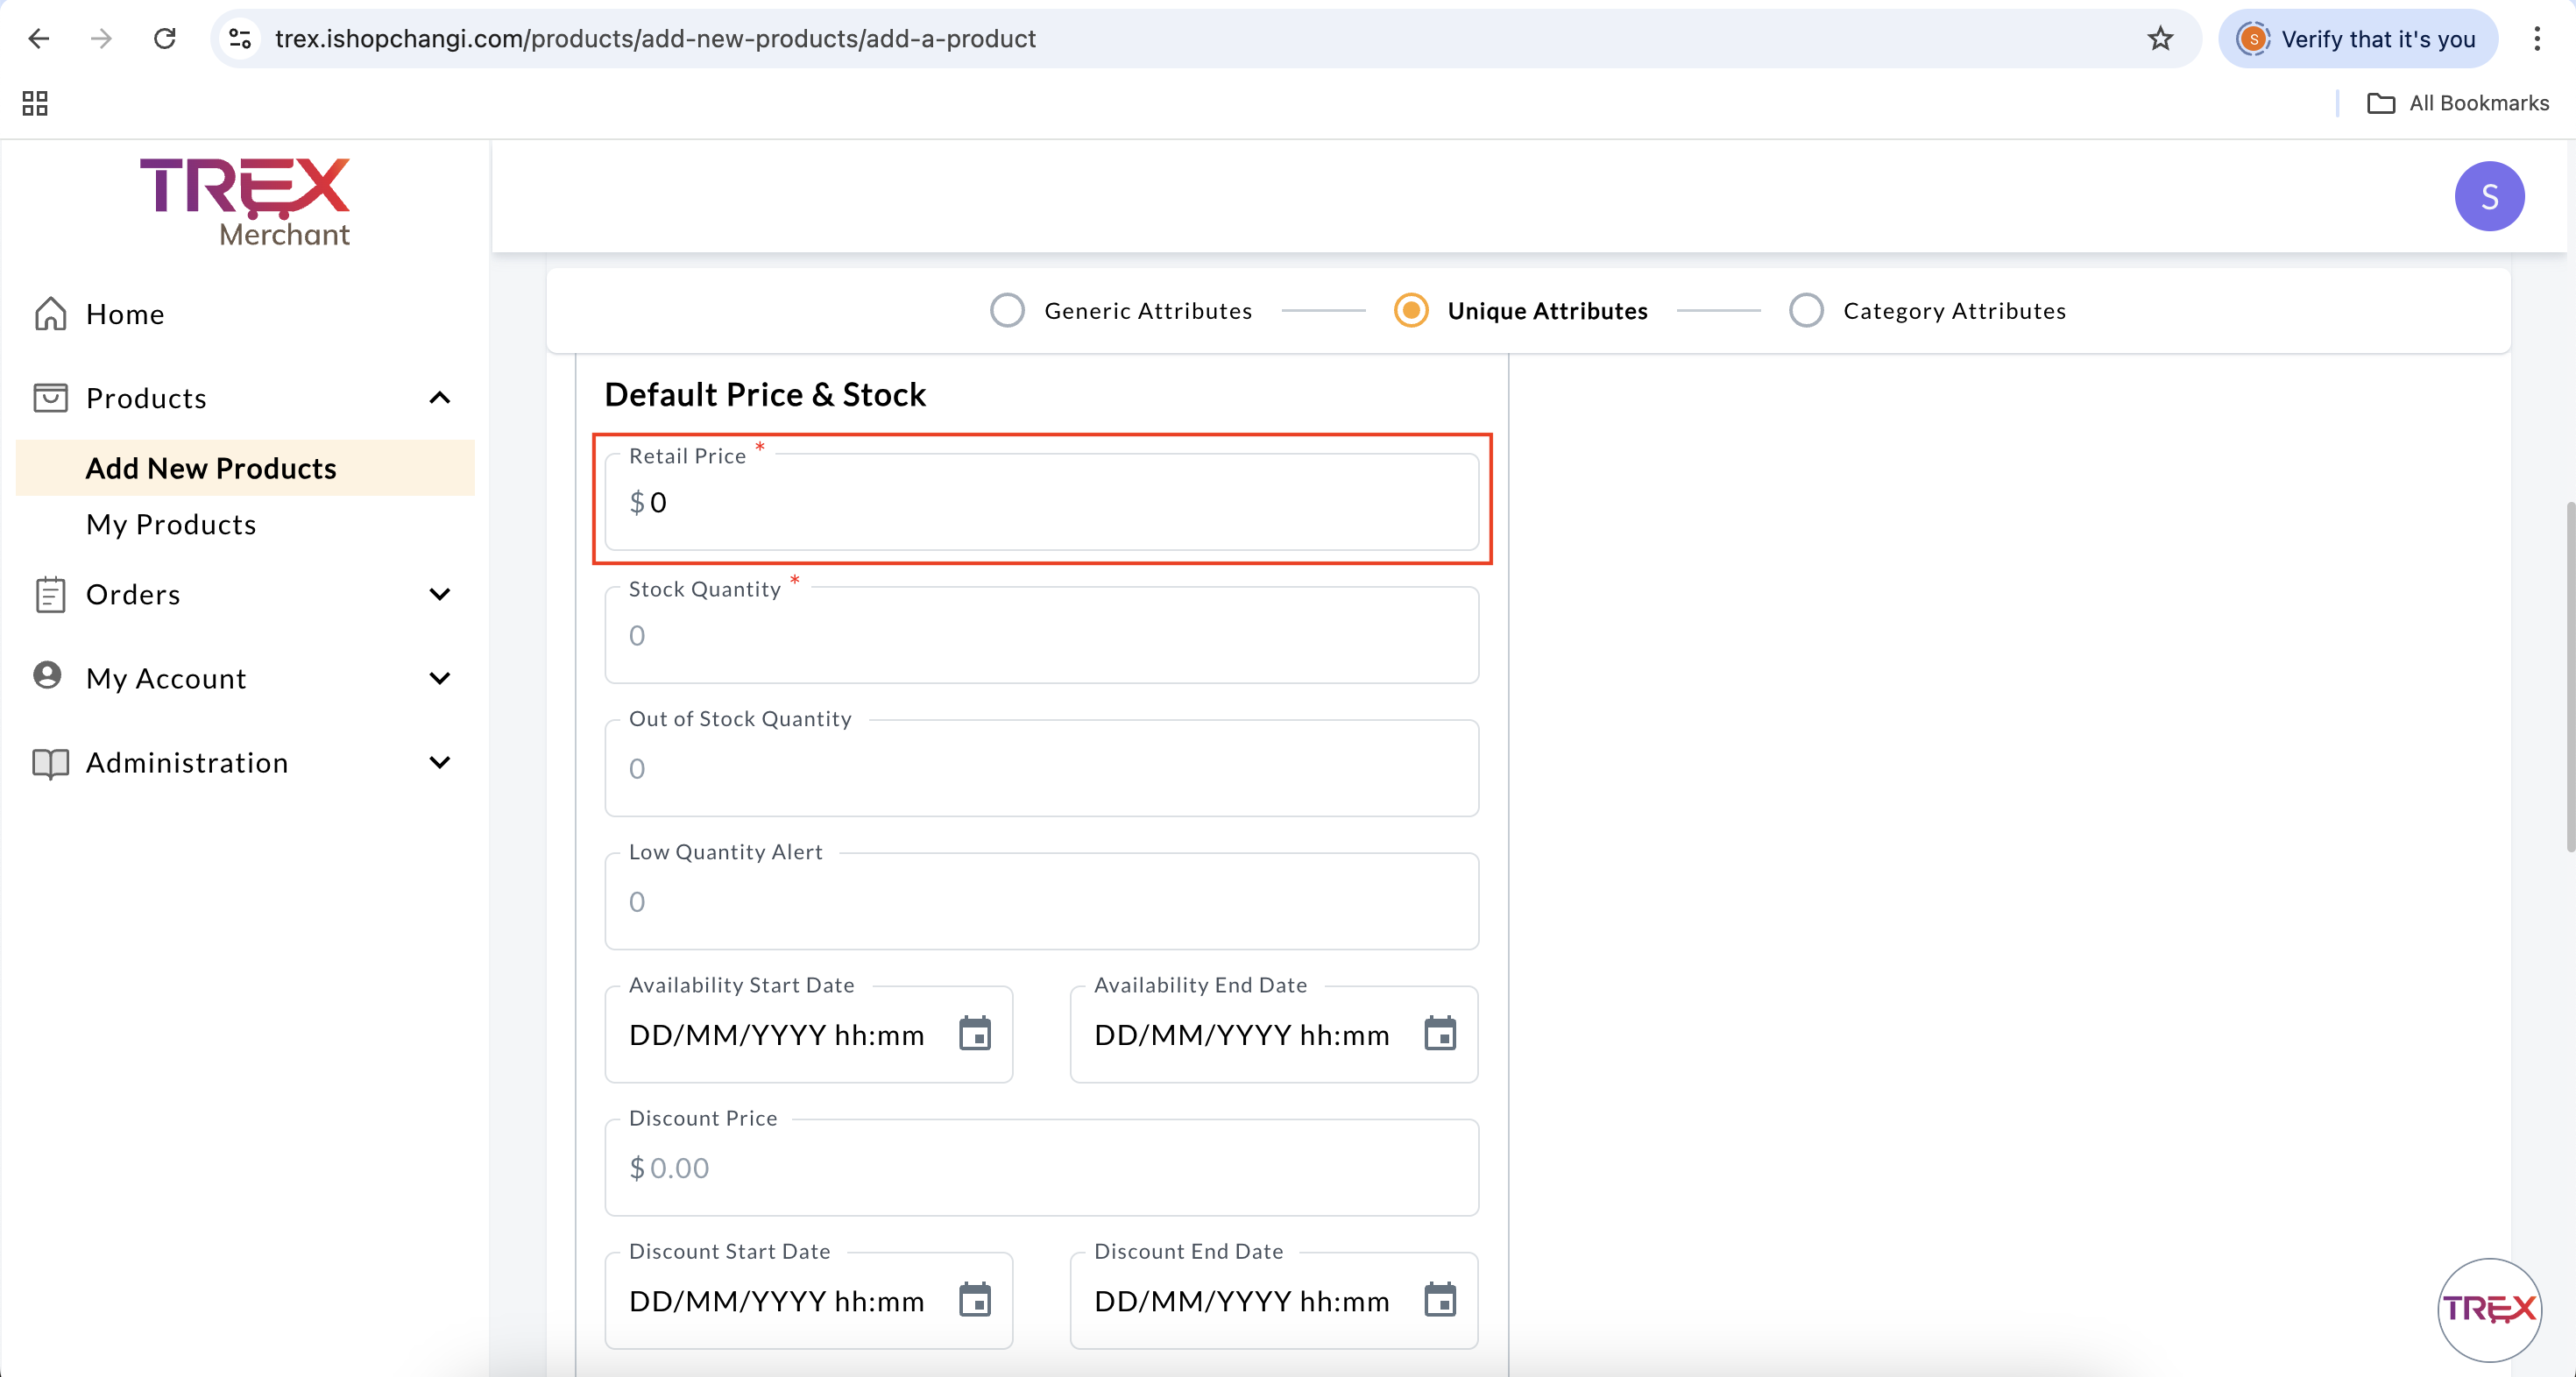
- Stock Quantity: Input the stocks available for the promotion.
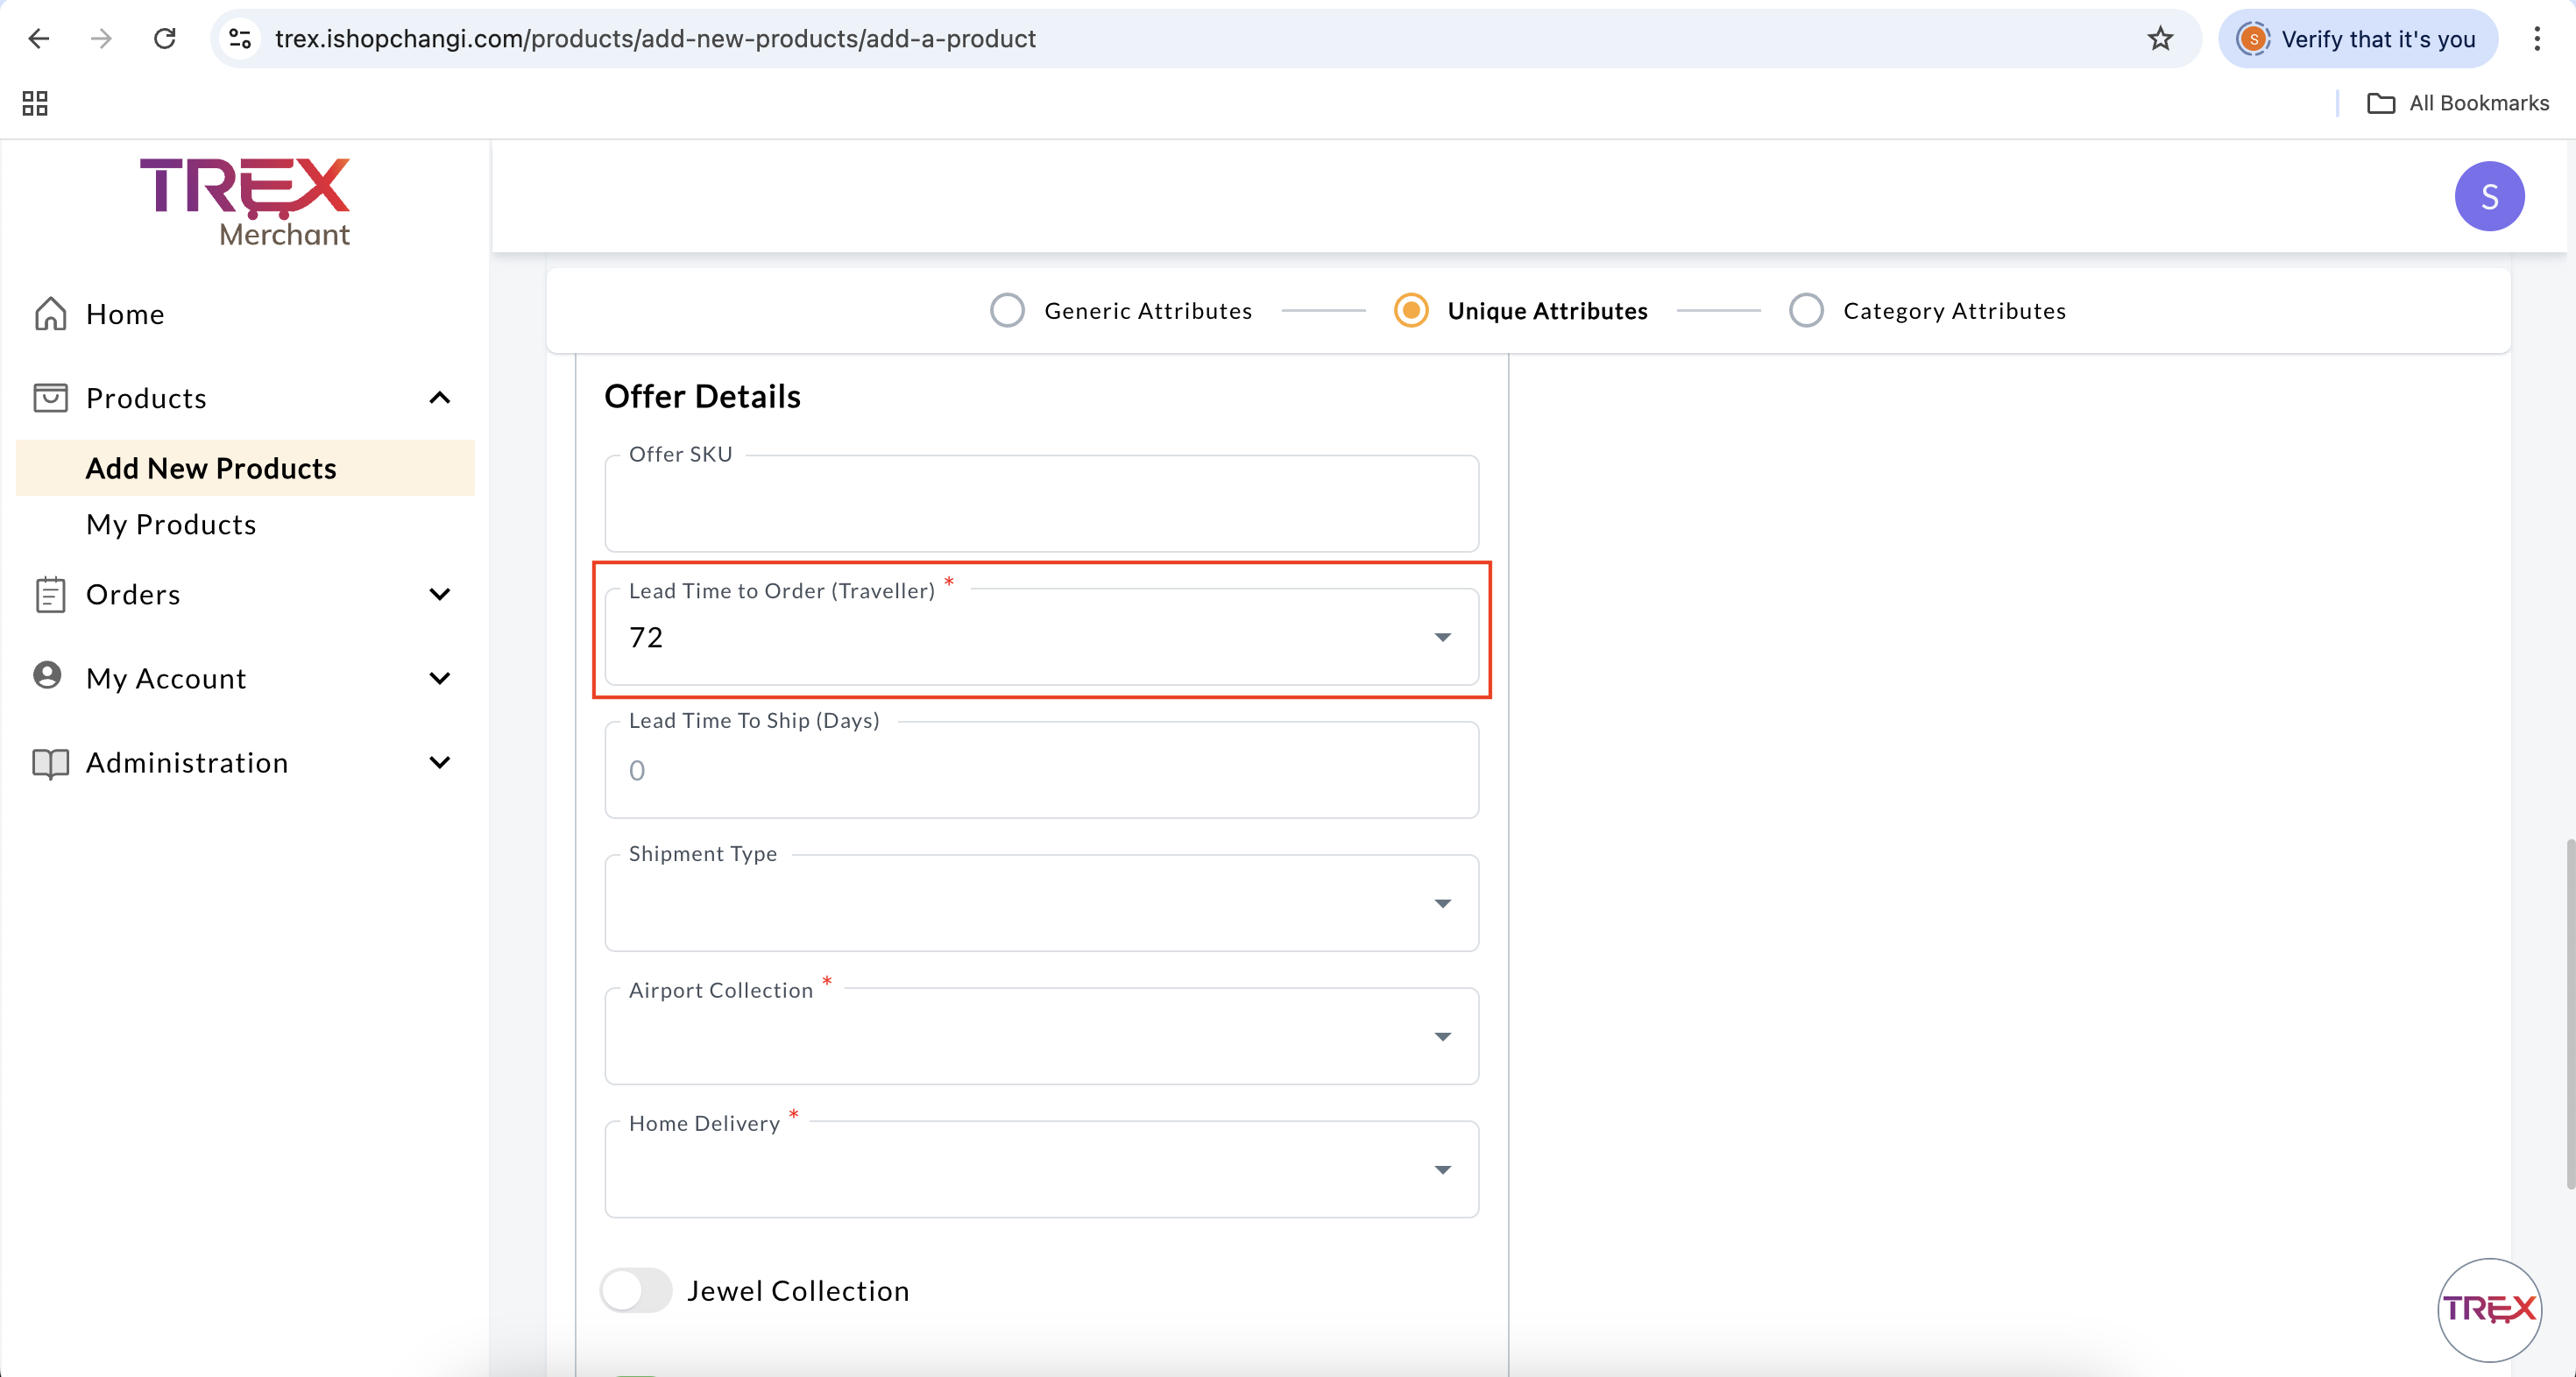
- Lead Time to Order (Travellers): Select the most appropriate option.
- Airport Collection: Ensure that the Traveller type (e.g., Departure, Arrival etc.) matches the Store configuration.
Product Configuration
Store Configuration (Under My Account)
- Home Delivery: Ensure that the Home Delivery type (e.g., HomeNonTraveller, HomeTraveller etc.) matches the Store configuration.
Product Configuration
Store Configuration
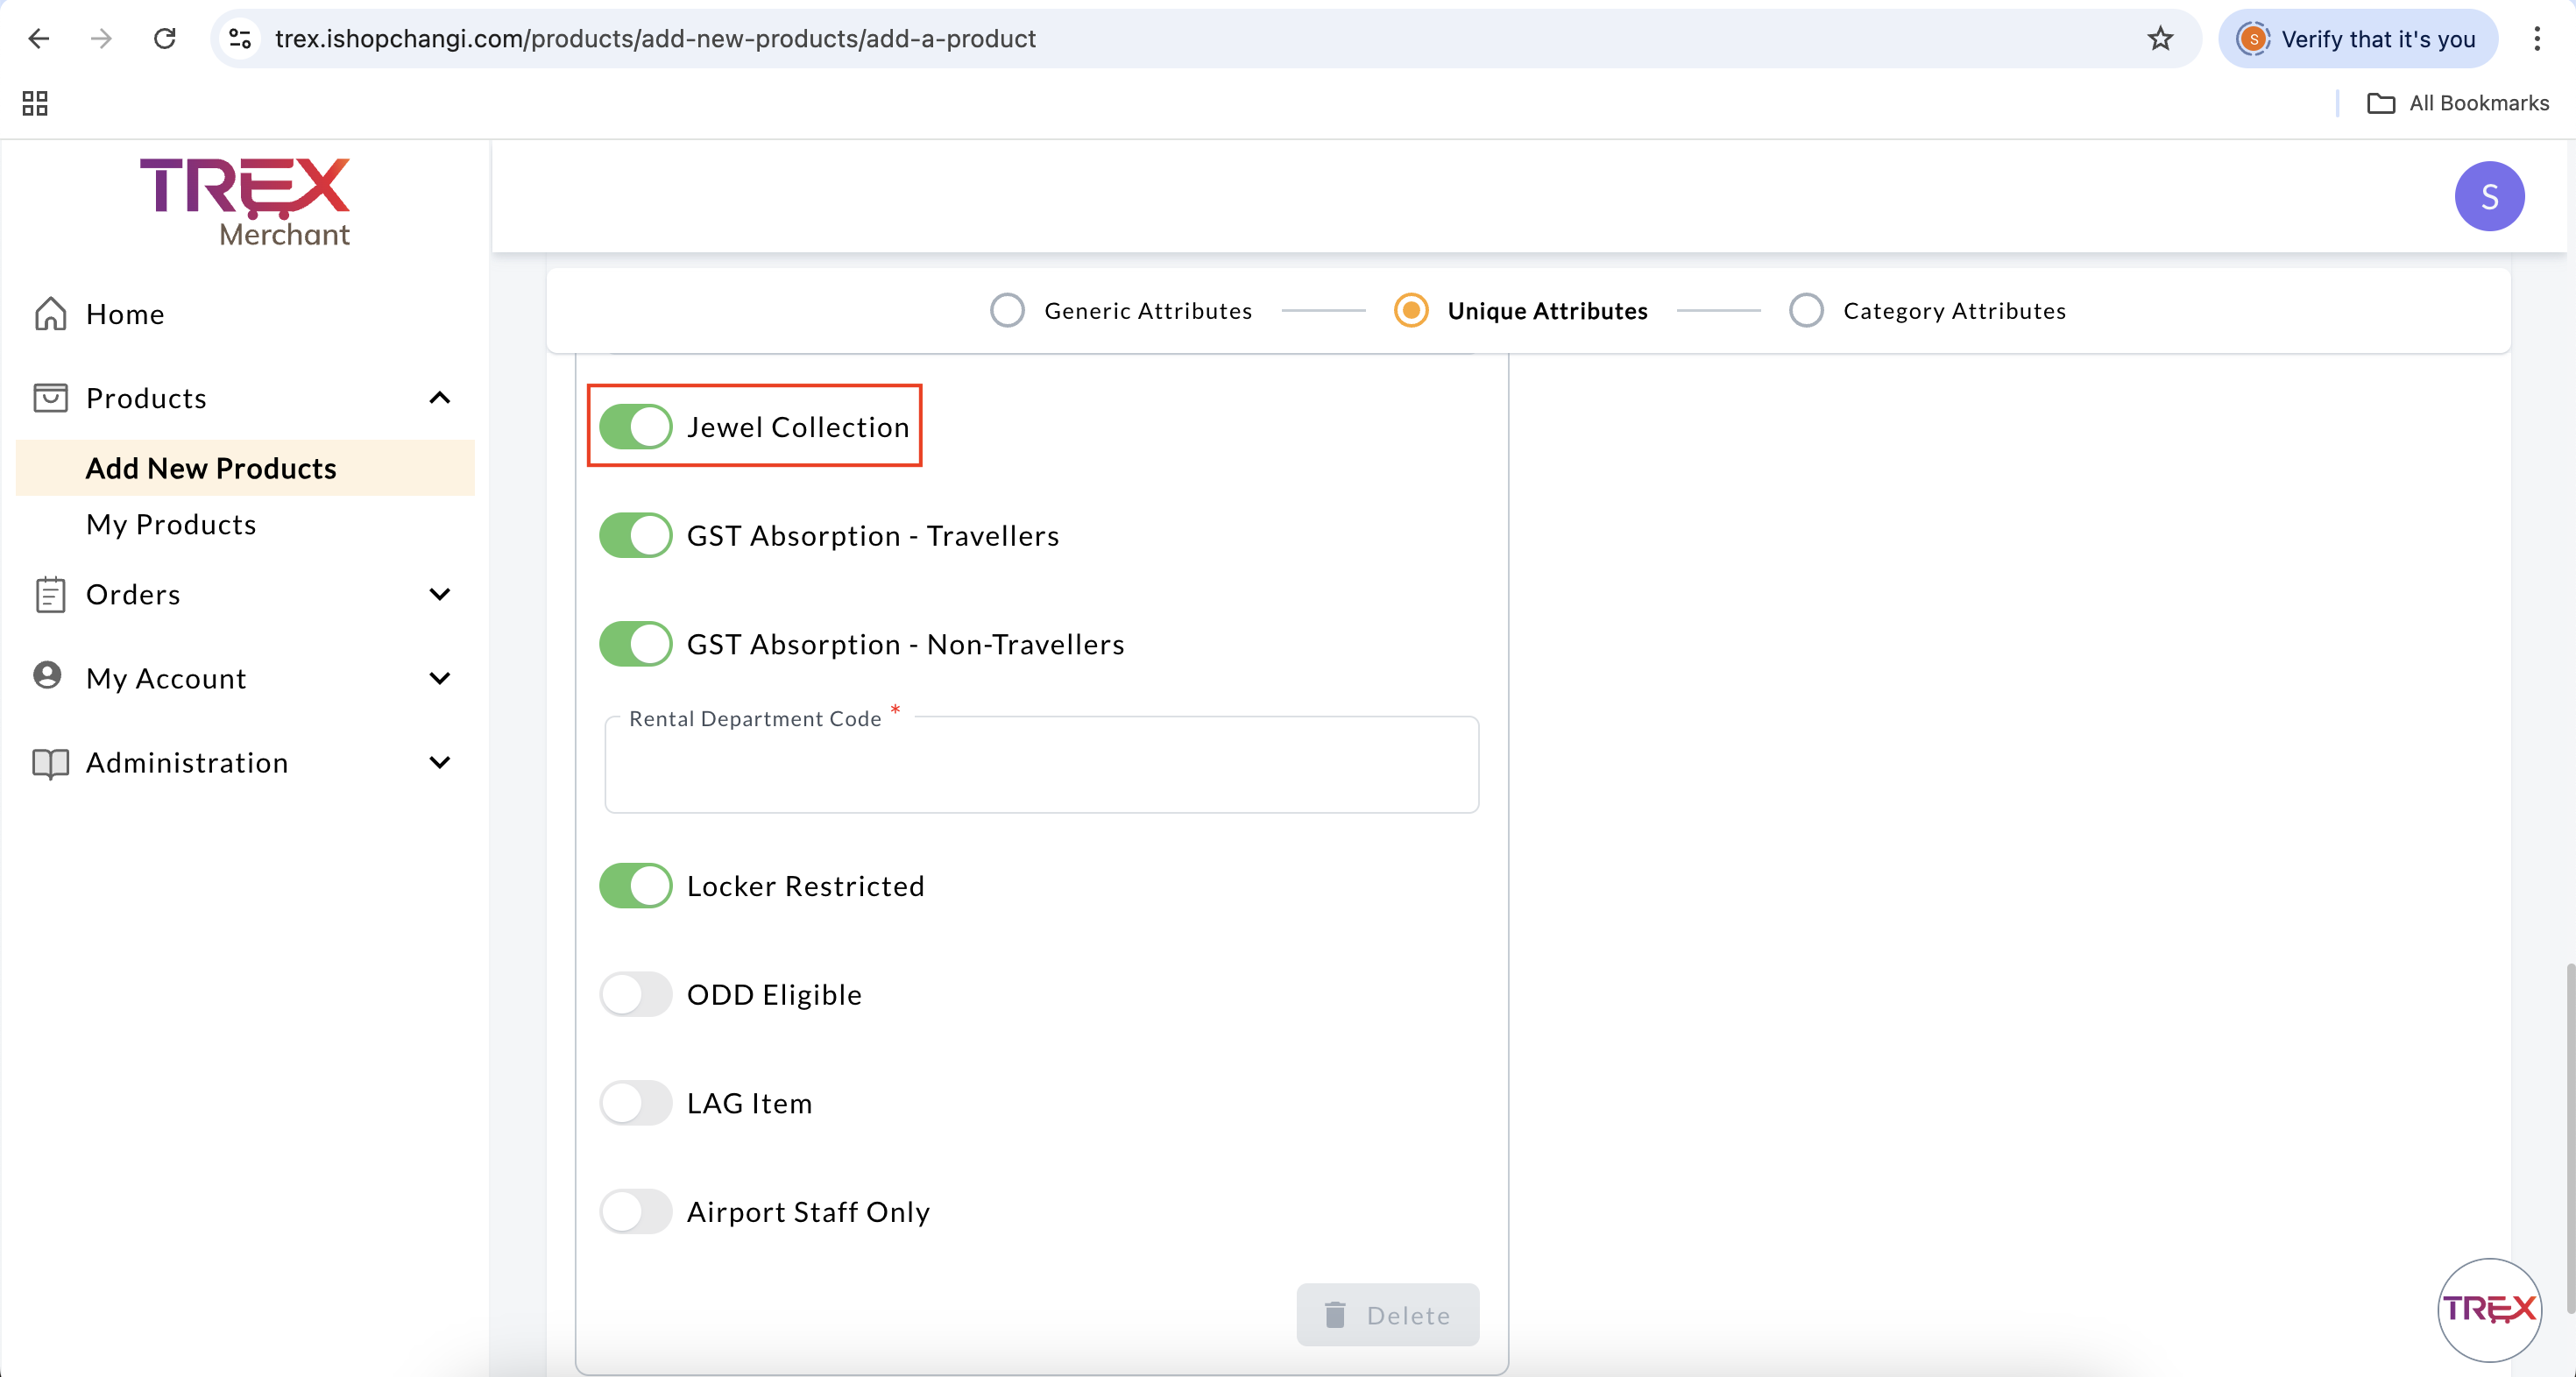
- Jewel Collection: Select if GWP is available for Jewel Collection. Note: Please check if the store is configured for Landside Collection.
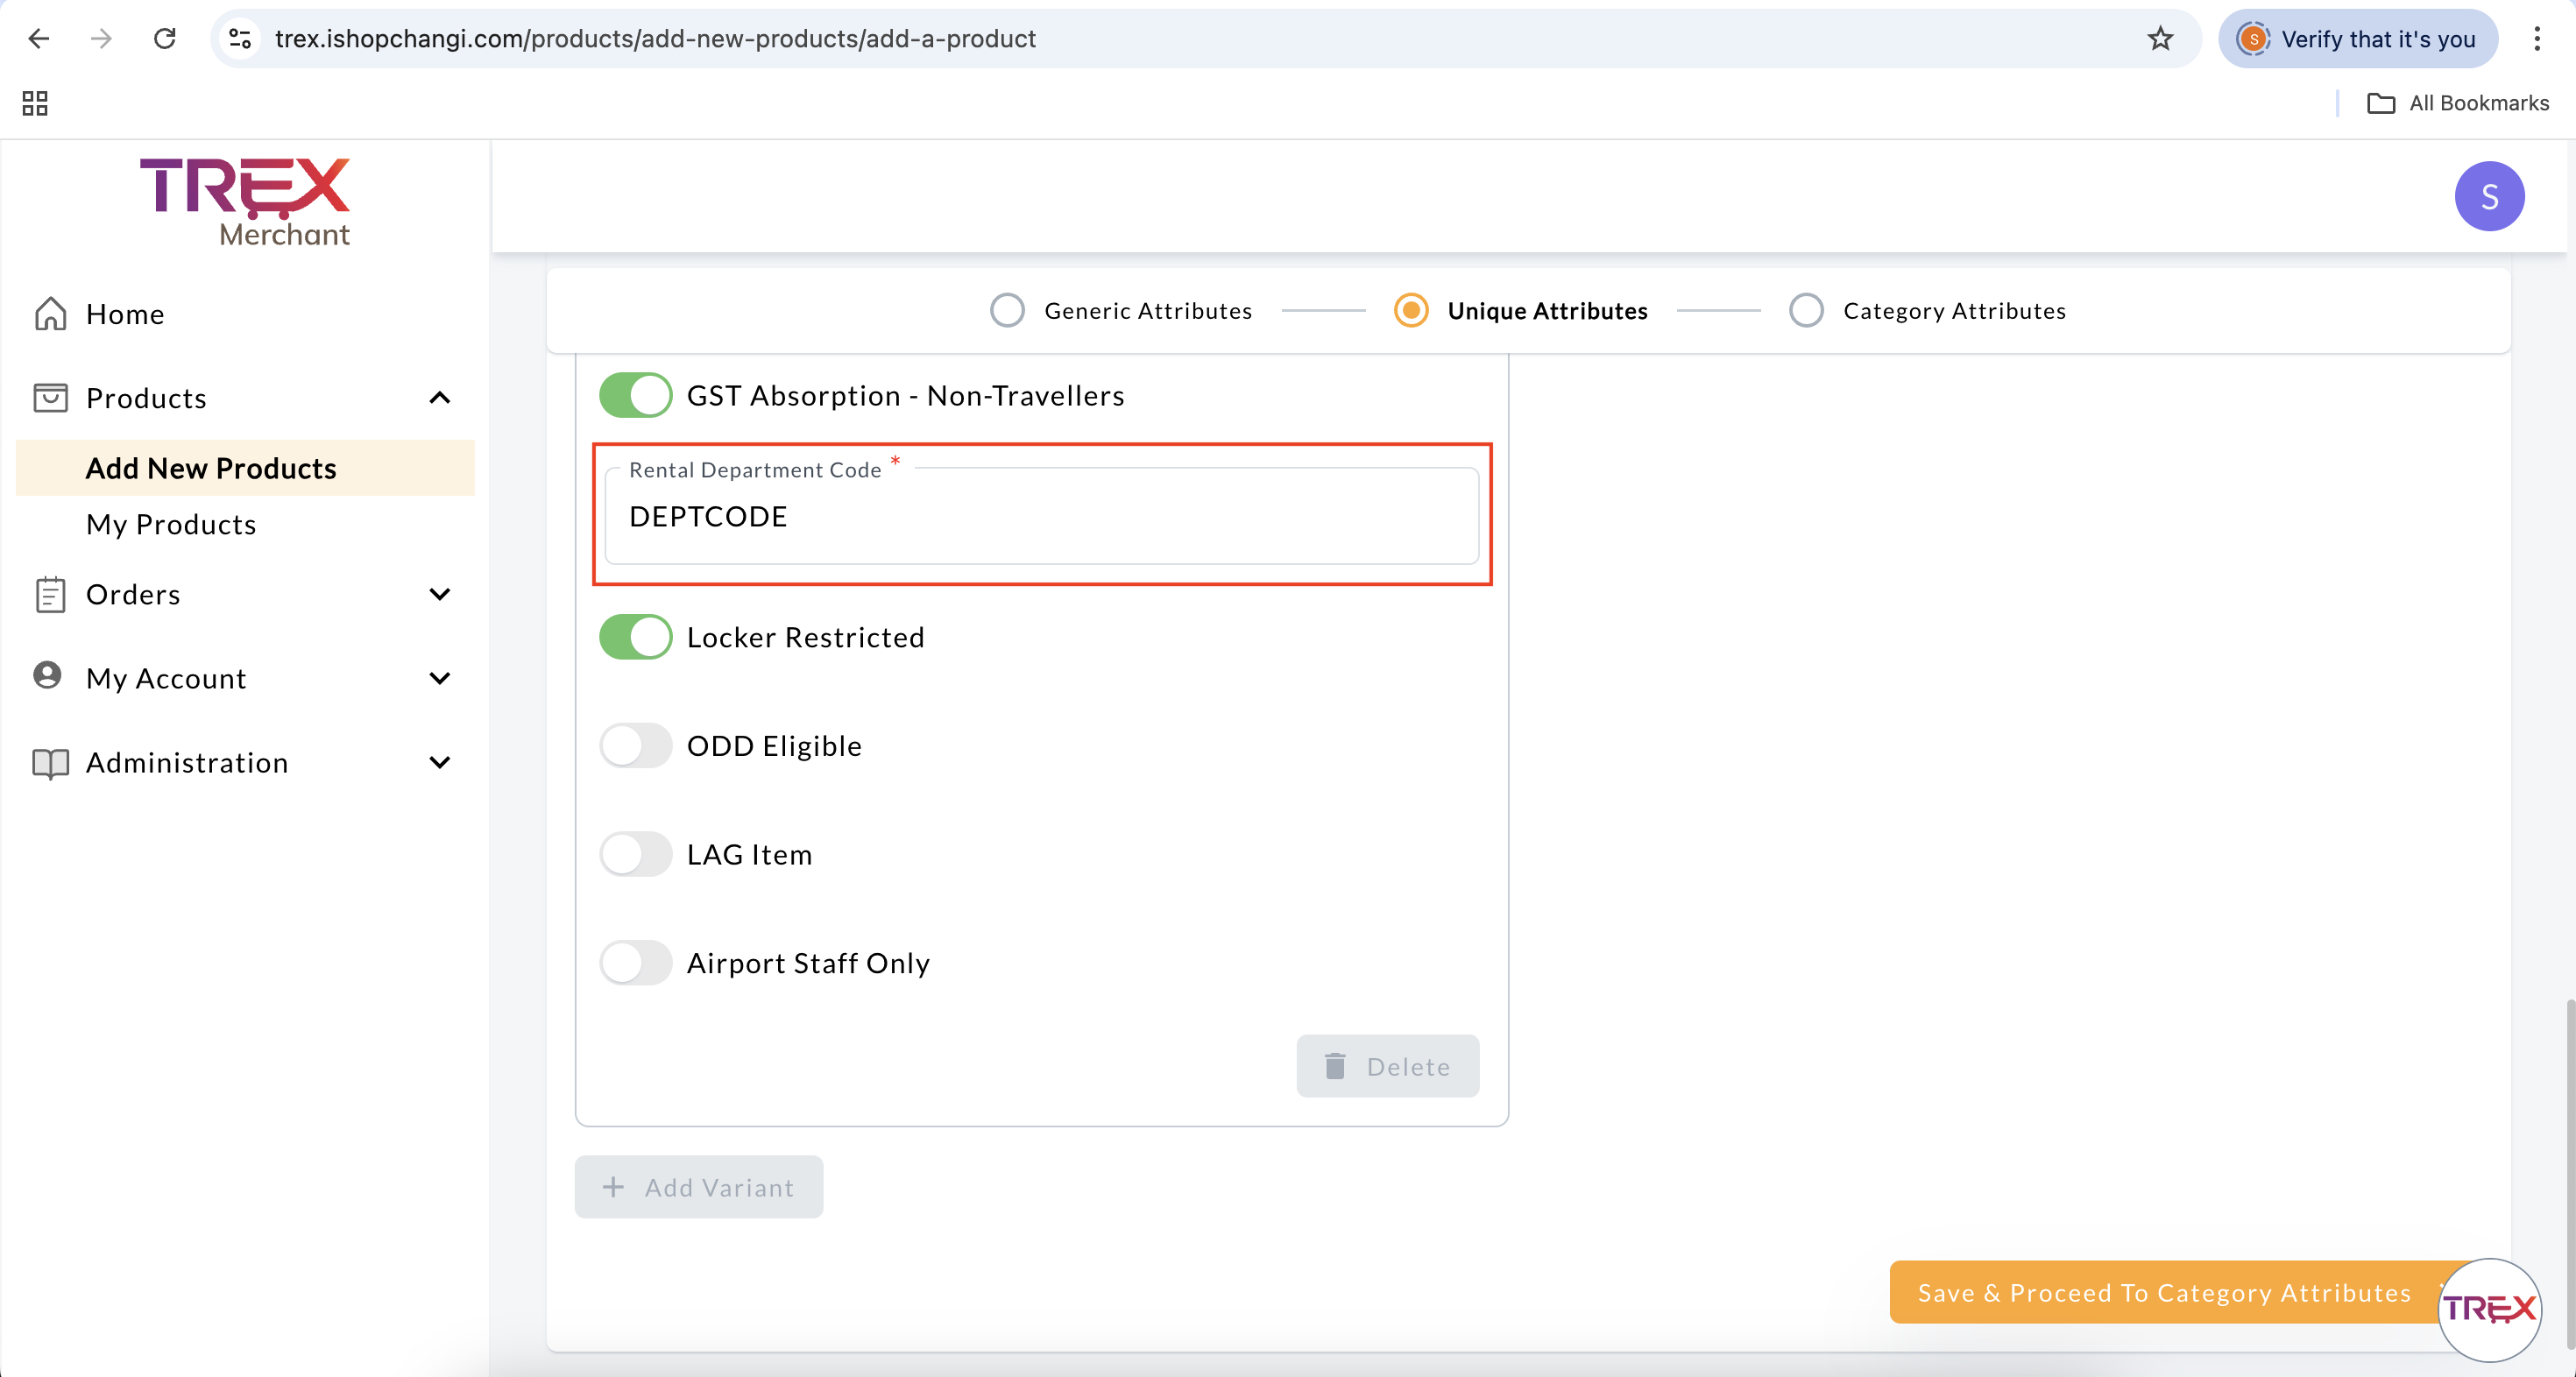
- Rental Department Code: Input DEPTCODE.
Mass Update
- Go to Products ➡️ Add New Products ➡️ Bulk Upload of Multiple Products

- Select the Category for the GWP ➡️ Generate and Download Template

- Category: Select the category for the GWP

- Brand: Select the brand of the GWP.

- Frontend Product Name [en] [zh]: Input “GWP” in front of the Product Name.
 It will appear under the Gift(s) entitled for your order section next to the FREE word at checkout.
 - Description [en] [zh]: Keep the Description brief to 1 sentence.
 This will also appear under Gift(s) entitled for your order section at checkout.
 - Is Free Gift?: select Yes. This will ensure that the product is not for sale on storefront.

- Backend Product Name [en] [zh]: Input “GWP” in front of the Product Name.

- SKU Code: Create a special code for the GWP.

- EAN: Create a special code for the GWP.
- Image: Follow the Product Image Guidelines. You may input the Image URL here.
- Retail Price: $0.

- Stock Quantity: Input the stocks available for the promotion.

- Airport Collection: Ensure that the Traveller type (e.g., Departure, Arrival etc.) matches the Store configuration.
Product Configuration
Store Configuration - Home Delivery: Ensure that the Home Delivery type (e.g., HomeNonTraveller, HomeTraveller etc.) matches the Store configuration.
Product Configuration
Store Configuration
What's Next
Once the products have been successfully created, the Seller Centre Team will review the products for approval.
📝 Note: SLA is 1-2 business days for product approvals.
If there are no issues, the product will be approved and the product status will change from New ➡️ Approved.
If there are issues, the product will be temporarily rejected and the rejection reason will be provided. The product status will change from New ➡️ Changes Required.
Related Guides: Creating GWP Promotions in SAP BackOffice
You can set up various types of Gift with Purchase (GWP) promotions in SAP BackOffice. Refer to the following guides for step-by-step instructions:
-
How to create a GWP with minimum spend
https://selleruniversity.ishopchangi.com/trex-level-intermediate/trex-inter-mod6/gwp-with-min-spend/ -
How to create a GWP with purchase of product
https://selleruniversity.ishopchangi.com/trex-level-intermediate/trex-inter-mod6/gwp-with-purchase-of-qualifying-products/ -
How to create a GWP with purchase of brand or category
https://selleruniversity.ishopchangi.com/trex-level-intermediate/trex-inter-mod6/gwp-with-purchase-of-qualifying-category/ -
How to create a tiered GWP with minimum spend
https://selleruniversity.ishopchangi.com/trex-level-intermediate/trex-inter-mod6/tiered-gwp/